
I'm making these Ground Beef Tacos with Homemade Taco Seasoning as part of the 26th Secret Swap. This is the first swap I've participated in.
Here's how it works: 12 bloggers picked a secret subject for someone else, and were assigned a secret subject to interpret in their own style. Today we are all revealing our topics, and our posts!
My subject is "What is an experience that was bad, but that you are thankful for it happening?" and it was given to me by Discovering Me . Well, guess what it is? No clue??
The first time I ever cooked on my own! I was about 12, and decided that I really wanted to make tacos. Go all out, shredded lettuce, diced tomatoes, I don't remember what else I decided to put in them, but I do know that it was before I discovered salsa, or homemade taco seasoning, and years before I discovered avocados! Before that I had only ever made homemade grape juice with my great-grandmother, and homemade butter, shaking it in a jar, but I wouldn't call that cooking.
I didn't destroy the tacos, but something about dicing all those tomatoes and shredding the lettuce gave me a HUGE headache, it took me a lot longer to do than I thought it would, and by the time they were done I didn't even want to eat them 🙁
I never would have guessed at the time that every job I would have up to this point would be in the food industry, or that I would learn to adapt recipes to fit the needs of two little girls with PKU that I would be a live-in babysitter for, or that since that time I have diced, sliced, and shredded thousands of pounds of tomatoes and lettuce!
I still love tacos, too! I don't get headaches from making them anymore, either ( I save that for homemade gnocchi, which I haven't even tried to make since my daughter stopped napping a few years ago).
Before I get to the recipe for these yummy tacos, let me introduce you to the rest of the bloggers taking place in the Secret Subject Swap. Grab a cup of coffee, sit back and enjoy!
Confessions of a part-time working mom
Rants From My Crazy Kitchen (oh wait, that's me ;))

Let's make this beef tacos recipe now!

Ground Beef Tacos with Homemade Taco Seasoning
Ingredients
- For the Taco Seasoning
- 1 tablespoon corn starch
- 1 tablespoon chili powder
- 1 teaspoon fine sea salt
- 1 teaspoon black pepper
- ½ teaspoon paprika
- ⅓ teaspoon garlic powder
- ¼ teaspoon cayenne pepper
- ¼ teaspoon onion powder
- ¼ teaspoon dried oregano
- For the Tacos
- 1 ¼ pounds 80% lean ground beef
- 15 taco shells
- ¾ cup water
- prepared taco seasoning
- 2 tablespoons chopped green chiles
- 1 tablespoon chopped cilantro
Instructions
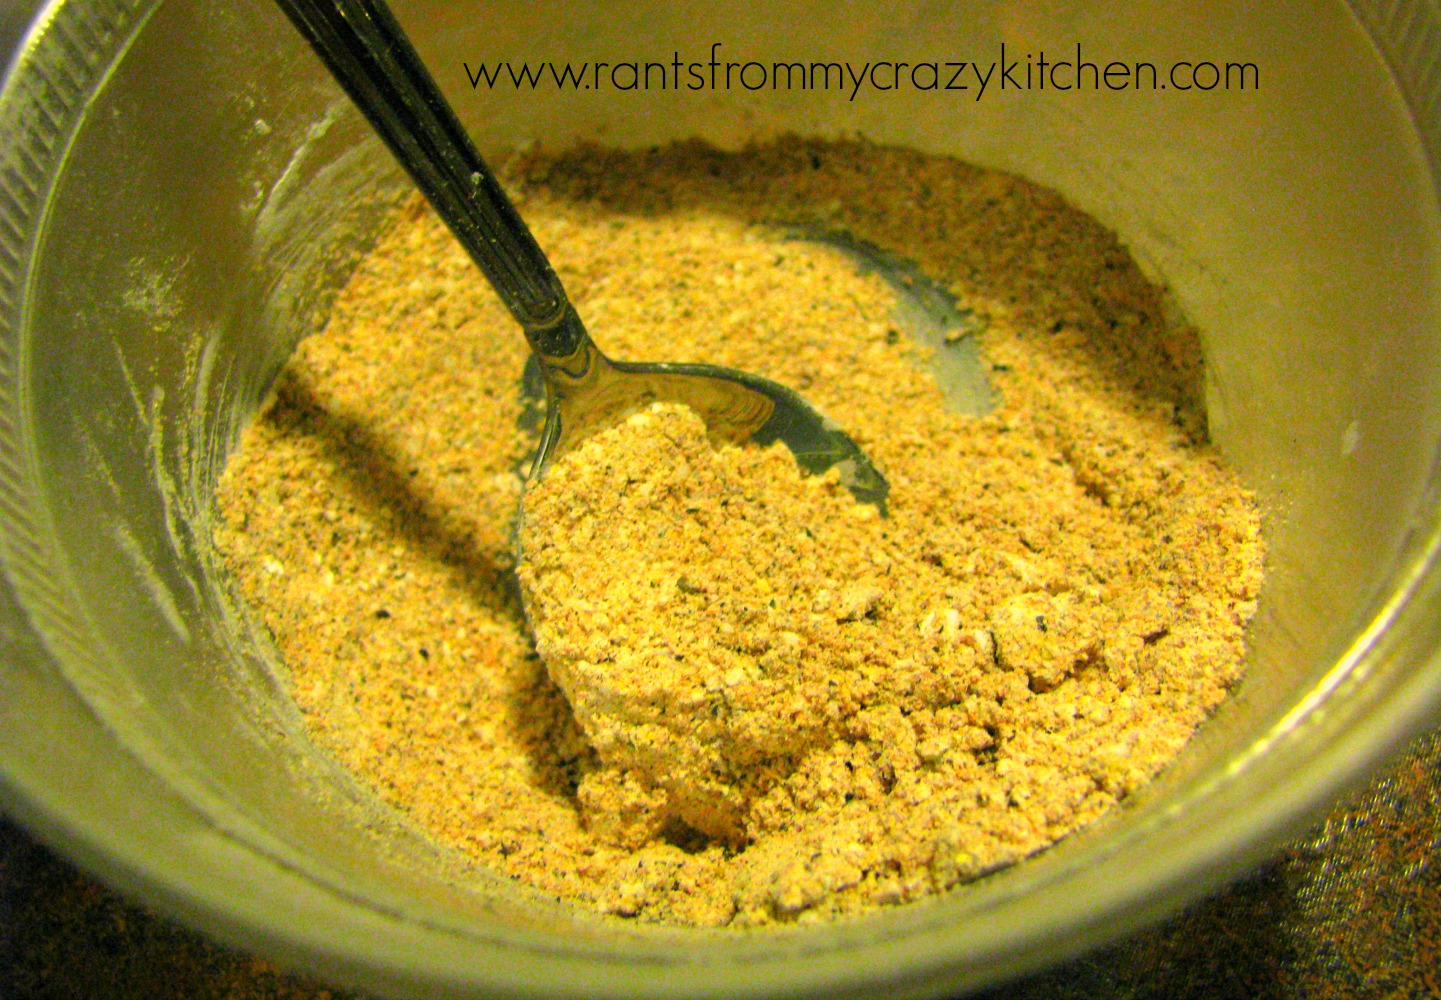
For the Taco Seasoning- Combine all ingredients into a small bowl and stir well. If not using immediately, store in a sealed container in a cool, dark place for up to 3 months.
For the Tacos- Brown ground beef in a large pan over medium-high heat, drain.
- Heat taco shells according to package directions, in the oven. While the shells are heating, stir the water and all of the combined taco seasoning into the drained ground beef, stir well, and simmer until mixture thickens. Stir in the chopped green chiles, turn off the heat and stir in the chopped cilantro.
- Serve the tacos with your choice of toppings!
Notes
Nutrition
Topping suggestions for this beef tacos recipe: shredded lettuce, Freezable Homemade Salsa, Mexican cheese blend, diced avocado, and sour cream.