Today's delicious side dish, Cauliflower Mashed Potatoes, comes from my friend Kristin from The Food Geek Diary. Not only can she cook, but she's an awesome mom, too! Please take a minute to check out her blog and her Facebook Page also 🙂

Hi everyone, my name is Kristin Wheeler and I am the author of The Food Geek Diary. I was presented with this wonderful opportunity to share a recipe and do a guest post for one of my amazing blogger friends, Bernadette of Rants From My Crazy Kitchen. I am so grateful to have this opportunity to bring a little piece of my life and love for food to Bernadette and her readers/friends!
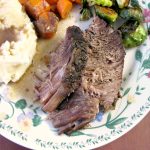
The recipe I decided to share today is one that is very simple. Not only is it simple to make, but there really isn’t anything fancy about it. Just good ol fashioned comfort food, with a healthy twist! My family consists of my awesome husband and our three children, ranging from 2 to 7. My older children would always tell me how much they didn’t like cauliflower, so I decided to change up their mashed potatoes to cauliflower mashed potatoes and see if I could get them to eat it that way. Thus my recipe for Cauliflower Mashed Potatoes came to be.
This recipe has become a family favorite and is requested time and time again INSTEAD of mashed potatoes! This is huge! My boys who said they would never like it absolutely love it and my 2 year old daughter (who loves cauliflower anyways) will only eat a huge bowl of this when I make it. She has no interest in anything else on her plate when cauliflower mashed potatoes are in the picture J
So with that, I give you…
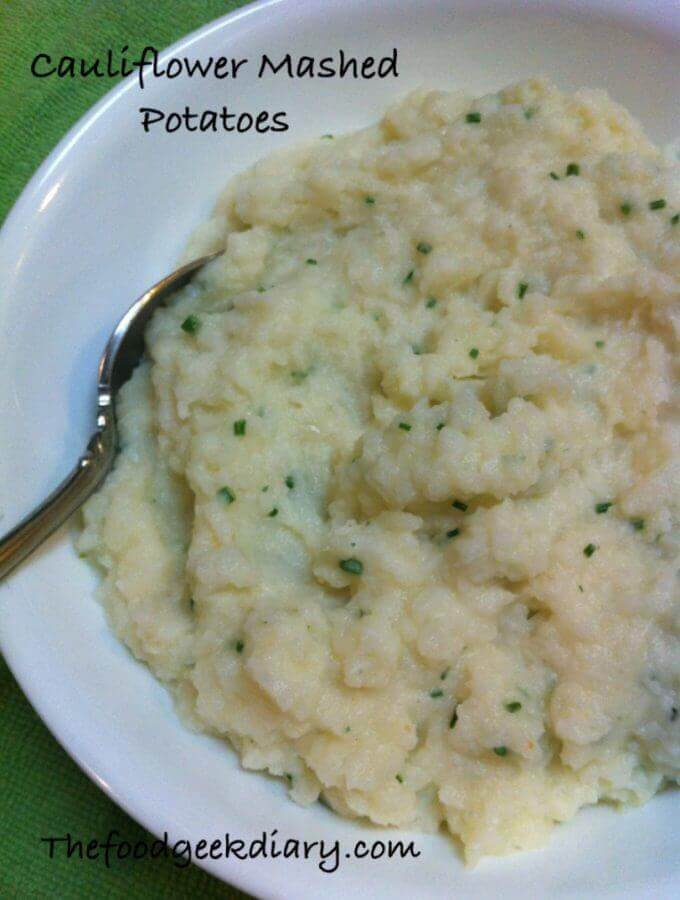
Cauliflower Mashed Potatoes
(Keep in mind that this recipe can be customized to your liking, with different shredded cheeses, herbs, spices, more or less half and half to change the consistency, etc. Get creative and enjoy all of the different variations and combinations of flavors you can come up with!)
Ingredients
2 Medium/large red potatoes – peeled and diced into about one inch cubes
1 Head cauliflower – bottom stem trimmed off and cut off the florets
2 Tbsp unsalted butter
1 Tsp garlic salt
¼ Cup half and half – start there and increase up to ½ cup to reach desired consistency
1 Tsp fresh chives – chopped (optional)
Handful of cheese – parmesan, gruyere, blue cheese, or cheddar, anything you like, and it is completely optional! It’s great with and without. A lot of times I leave cheese out since my kids don’t need me to hide it with cheese for them to eat it, but it is a nice touch from time to time if you are feeling up to it.
Directions:
1. Bring a large pot of water to a boil, as well as a medium sauce pan of water to boil. Place the cauliflower into the large pot and the potato cubes into to smaller pan. Boil both of them for 15 minutes, or until fork tender.
2. Drain both and pour into a large glass or metal bowl (you want to avoid plastic, as these are quite hot).
3. Add pads of butter and mash with a potato masher until smooth and well combined. Small lumps are fine and to be expected. You can always run through a food processor if this bothers you.
4. Add the half and half, garlic salt, chives, and cheese (if you are using). Mix well and pour into your serving bowl. Reserve a little bit of chives for garnish, if you are feeling fancy.
Enjoy!!