
I am really enjoying the recipes my guest posters have shared with us this summer! So many different things than what I usually make and share with you all 🙂 I can't believe summer is half over though 🙁
Today's recipe for Cherry Clafoutis comes from my friend Abby from Manila Spoon. Please check out her blog, she has amazing recipes from having grown up in the Philippines to traveling around the world. The recipe she is sharing today is a French dessert that she had while on a recent trip to Europe. You can also check out and follow her and all her yummy recipes by following Manila Spoon on Facebook.
When my friend Bernadette asked me to guest-post for her lovely blog, I was very excited although at that time I didn't quite know what to share yet. I thought I ought to share something that I really love and something extra special, too. Thankfully, this year we went to France as part of our European holiday. My husband and I took a few days off, left the kids with Mark's parents in England, and went to France to celebrate our 10th Wedding anniversary. Being a blogger, I couldn't wait to try all the lovely cakes, pastries and other French baked goods while we were there. Needless to say apart from the usual touristy sights we visited, we also went from one patisserie to another all the while adoring all the yummy treats we saw on each glass case and shop windows! For a foodie, it was pure heaven!
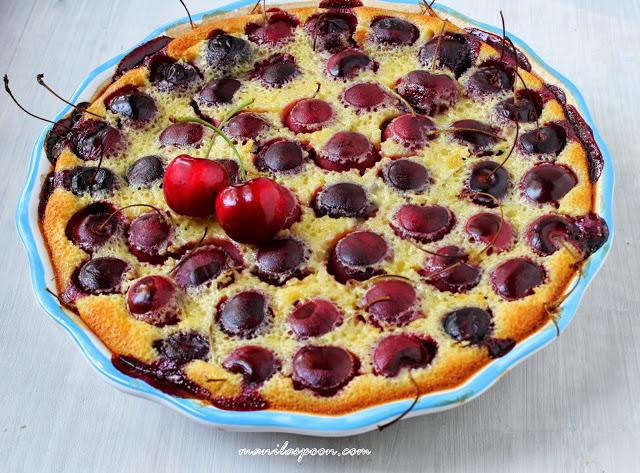
One of my favorite French desserts is a Clafoutis (also spelled without the s). It is a baked French dessert which traditionally uses dark cherries which are arranged in a dish and then covered with a thick flan or custard-like batter. Not only is it so easy to make, it is flavorful as well and so delicious when paired with freshly whipped cream or ice cream.
I have previously made a Strawberry and Almond Clafoutis which I totally love because it is so yummy. However, I didn't even want to attempt to make the traditional Cherry Clafouti because I do not have the patience or the endurance to pit a pound of cherries!!! Hence, I thought to myself, I'll stick to easier fruits that don't need much work. 🙂
Lo and behold, during one of our daily rounds in the Parisian patisseries, guess what I found - a Cherry Clafoutis - fully baked and looking so delicious complete with stems and pit. This is actually how they make a Cherry Clafouti. I read somewhere that baking with the pits inside actually give the Cherries and the dish itself a better and stronger flavor. Apart from that, am just happy, it means less work for me. Now that I learned that's how a traditional Clafouti is done (complete with pits and all) I was suddenly so ready to make my first French Cherry Clafoutis.
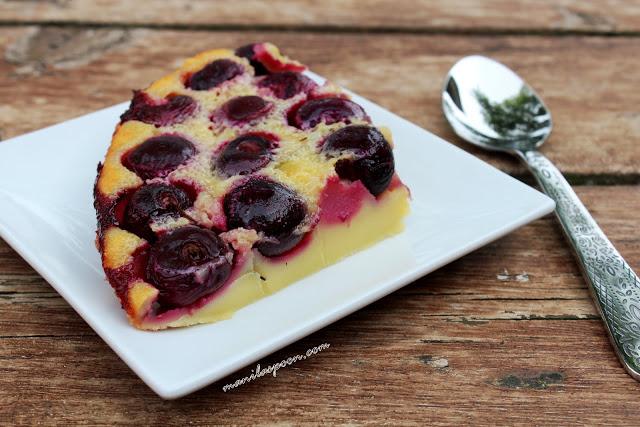
So here is my recipe for Cherry Clafoutis, complete with stems and pits! At first, I thought it would be difficult and weird to eat - no, not at all. You can either pull out the cherries (that's what the stems are for...) when you eat it or just pop it in your mouth as usual - each bite releases the yummy juices of the cherry which after baking has plumped up thereby making it so much easier to get the pits out. So, there's hardly any inconvenience at all. Much better than I expected. You can also use the fork to remove the pits but for the whole experience, I suggest just eat it all and throw the pit out as usual. It sure made a very flavorful and juicy Clafoutis!
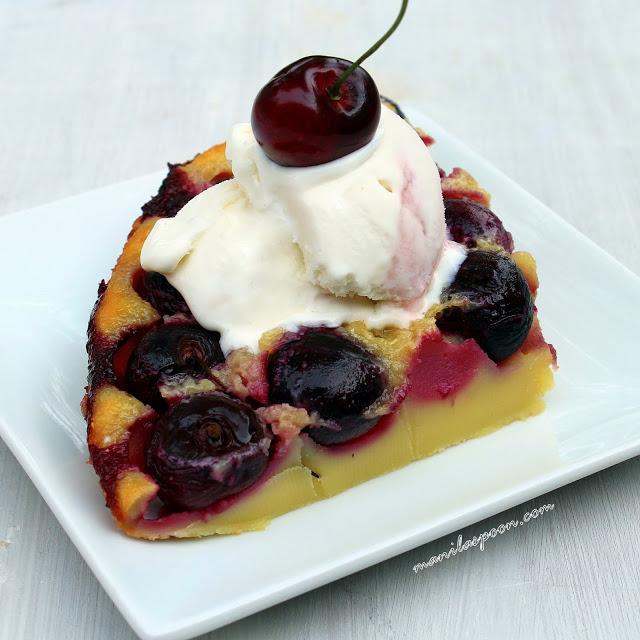
Clafoutis may be served either warm or in room temp. I suggest serving it while warm so the custard is still quite soft. Either dust it with powdered sugar or to experience full yumminess, do serve it with fresh cream, whipped or not, or even better vanilla ice cream!
Thank you so much Bernadette for allowing me the chance to be a guest blogger on your wonderful blog. It is indeed an honor to do so and I hope that your readers will find this recipe helpful.
Ingredients
1 cup all purpose flour
½ teaspoon salt
1 cup sugar
1 cup milk plus ½ cup freshly squeezed orange juice (you can just use all milk, too)
3 eggs
1 teaspoon Vanilla extract
1 lb Cherries, cleaned (no need to remove stems or pit)
Procedure
Preheat the oven to 350 F.
Whisk together the dry ingredients (flour, sugar and salt) until smooth. Beat the three eggs in a separate bowl and then set aside. Add the vanilla to the milk and orange juice. Pour the milk mixture into the dry ingredients at once and quickly whisk to avoid lumps. Beat the eggs into the batter until smooth. Make sure there are no lumps remaining.
Place the cherries in the bottom of a 10-inch round glass or ceramic pie plate. Pour the egg mixture over the cherries. If you think it may bubble over when baking, you can use a cookie sheet.
Bake for about 40-45 minutes or until the edges are set but the center is still slightly jiggly. Cool to room temperature or serve warm with a dollop of whipped cream or even some vanilla ice cream! Enjoy!
manilaspoon says
Thanks for sharing this Bernadette and for the opportunity to write for your lovely blog! 🙂
Bernadette says
You are welcome on my blog anytime 🙂