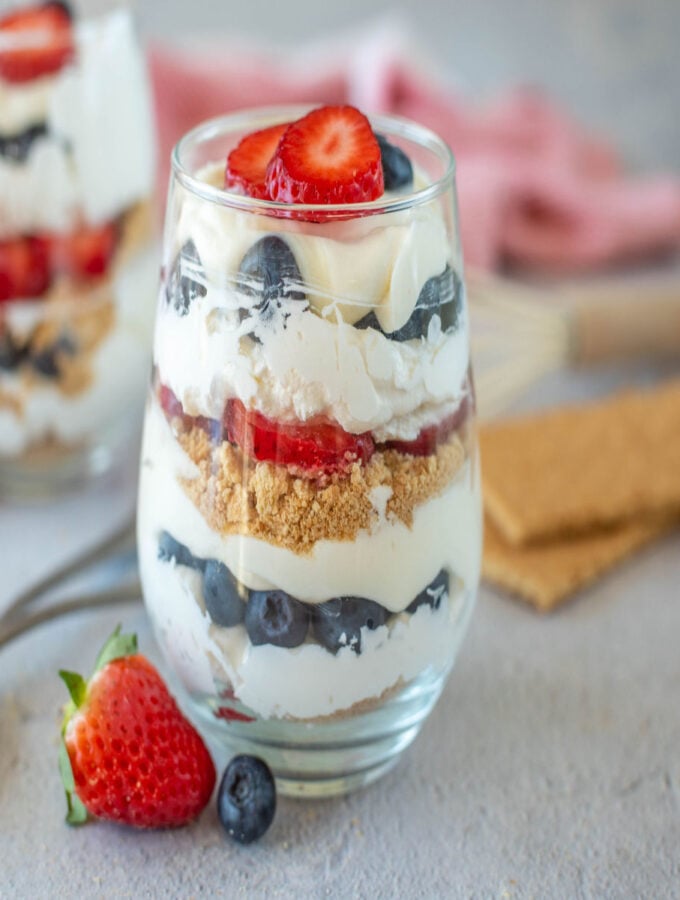
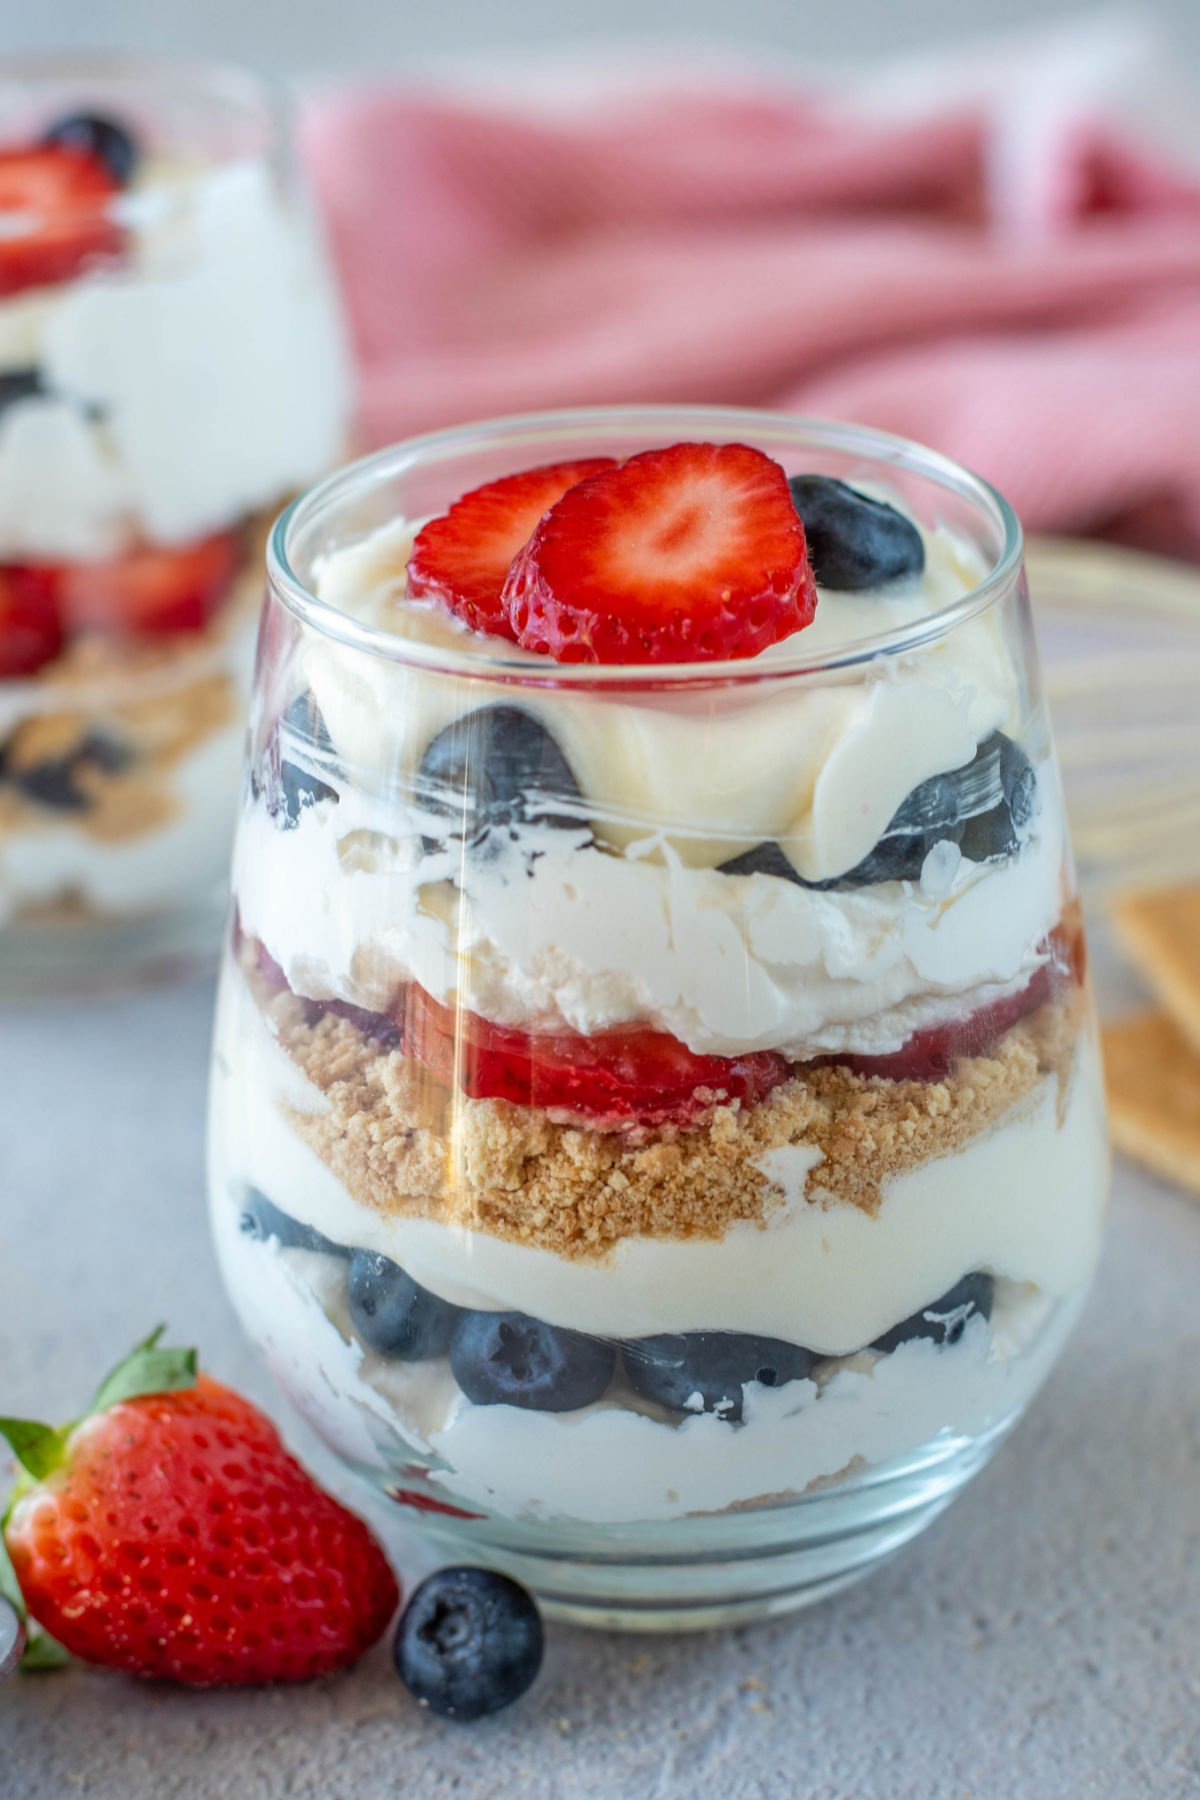
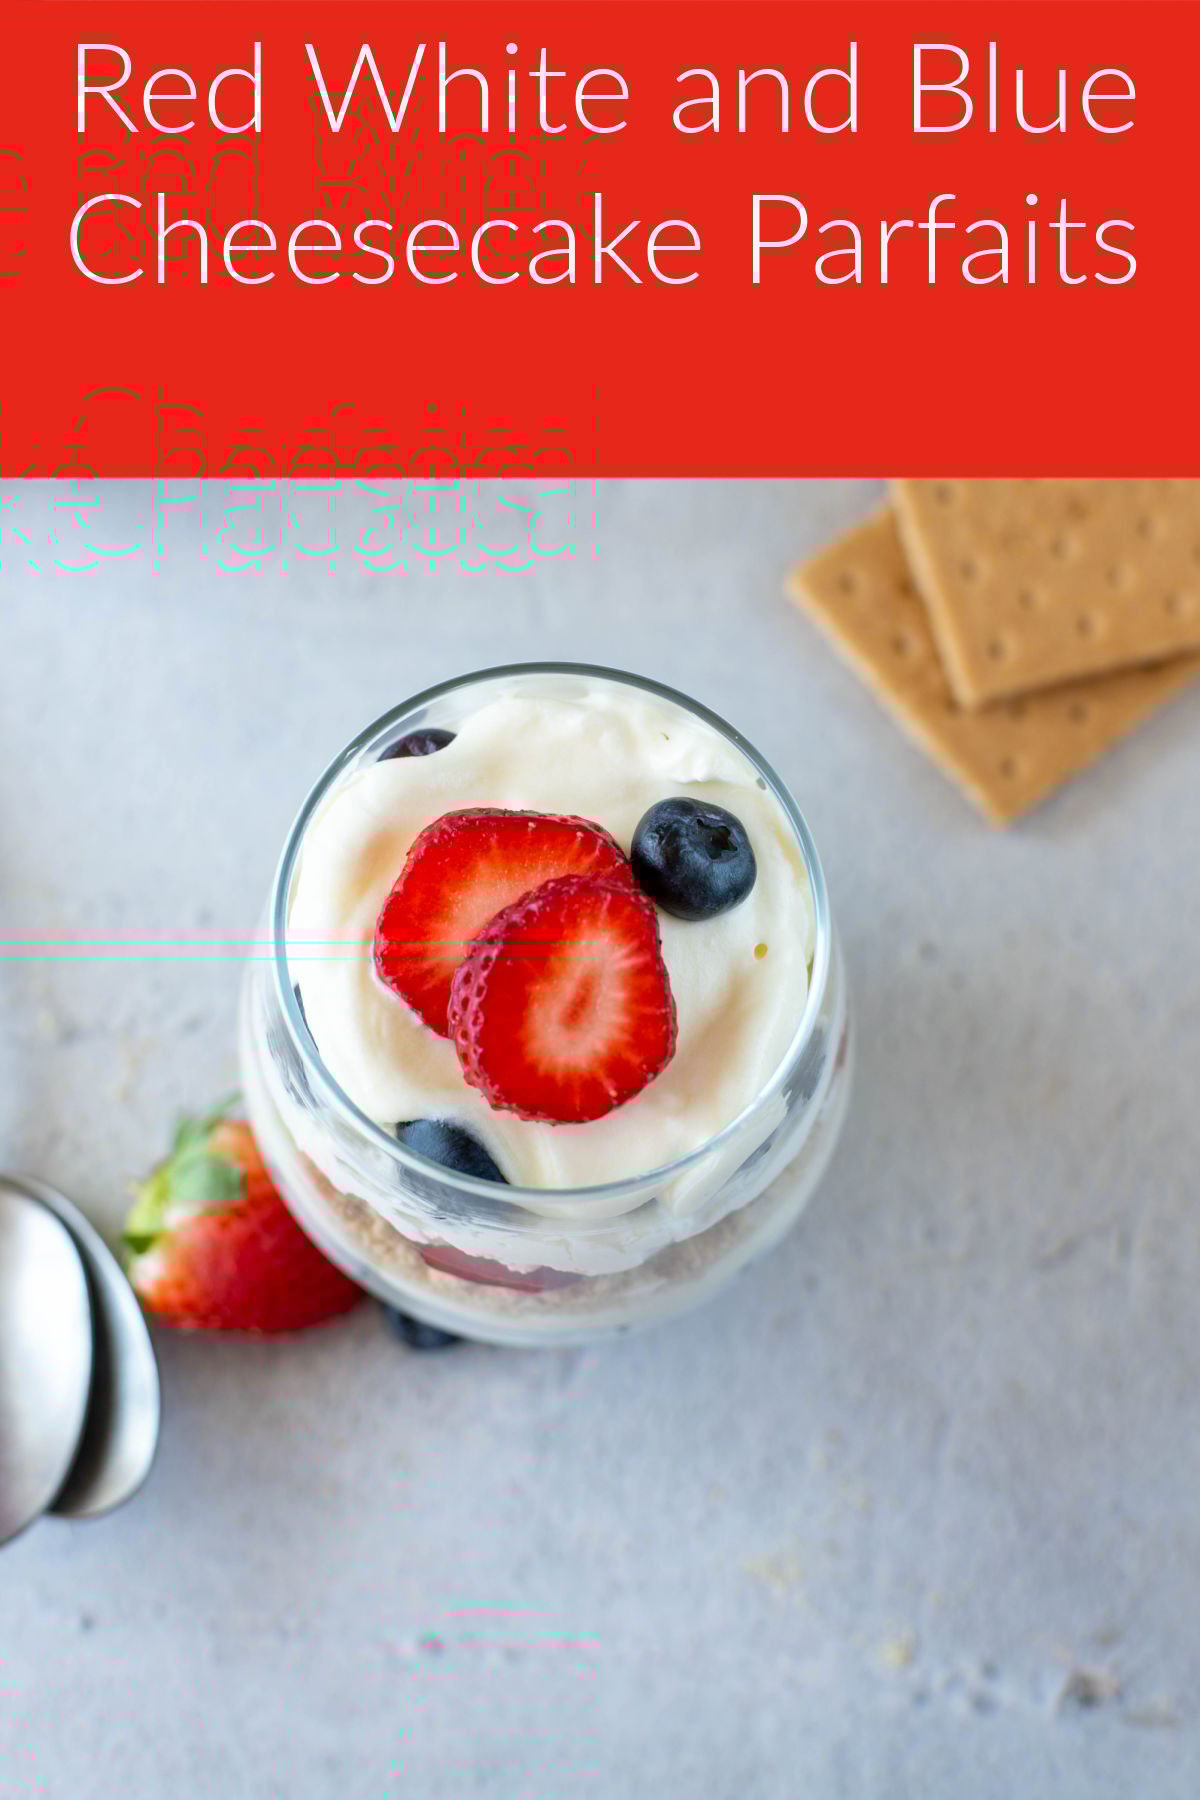
These Patriotic Cheesecake Parfaits are perfect for Memorial Day or the 4th of July, and can be adapted using different fruits and puddings for any occasion.
Todays post was originally published on July 2, 2013 as a guest post from my great friend Becca. Becca and I "met" online soon after I started blogging, and I've grown to love both her and her recipes! I made her Bacon Burger Stuffed Peppers, and they were great! She sold her blog a few years ago, but still supports bloggers in other ways. Below is Becca's original writing with the addition of the printable recipe card and photos updated to "todays standards".
When I heard that my sweet friend "Crazy" was looking for a few bloggers to help her out with guest posts during her crazy busy summer, I jumped all over the opportunity. She's got a huge heart and is always helping out others, so I wanted to be first in line to toss some love right back her way! Bernadette is a busy mom, and I'm guessing that many of you may be as well. My kids are all grown up, but that'll never stop me from making quick and easy recipes to help keep my kitchen time manageable. This cheesecake parfait recipe is as quick and easy as a make-it-yourself dessert gets.
I used a sugar-free pudding mix, fresh fruit, and non-fat whipping cream when I put this together, but that's only because I'm trying to lose some excess weight. This dessert can truly be switched up with any of your favorite combinations. Chocolate pudding and bananas, or maybe vanilla with cherries? Even substituting Jello instead of the pudding would be awesome! It's a great dessert to get your kids involved with, too. In case you didn't know, little fingers fit much more easily down into parfait glasses!
I hope you have a safe and happy 4th of July celebration!
~Becca
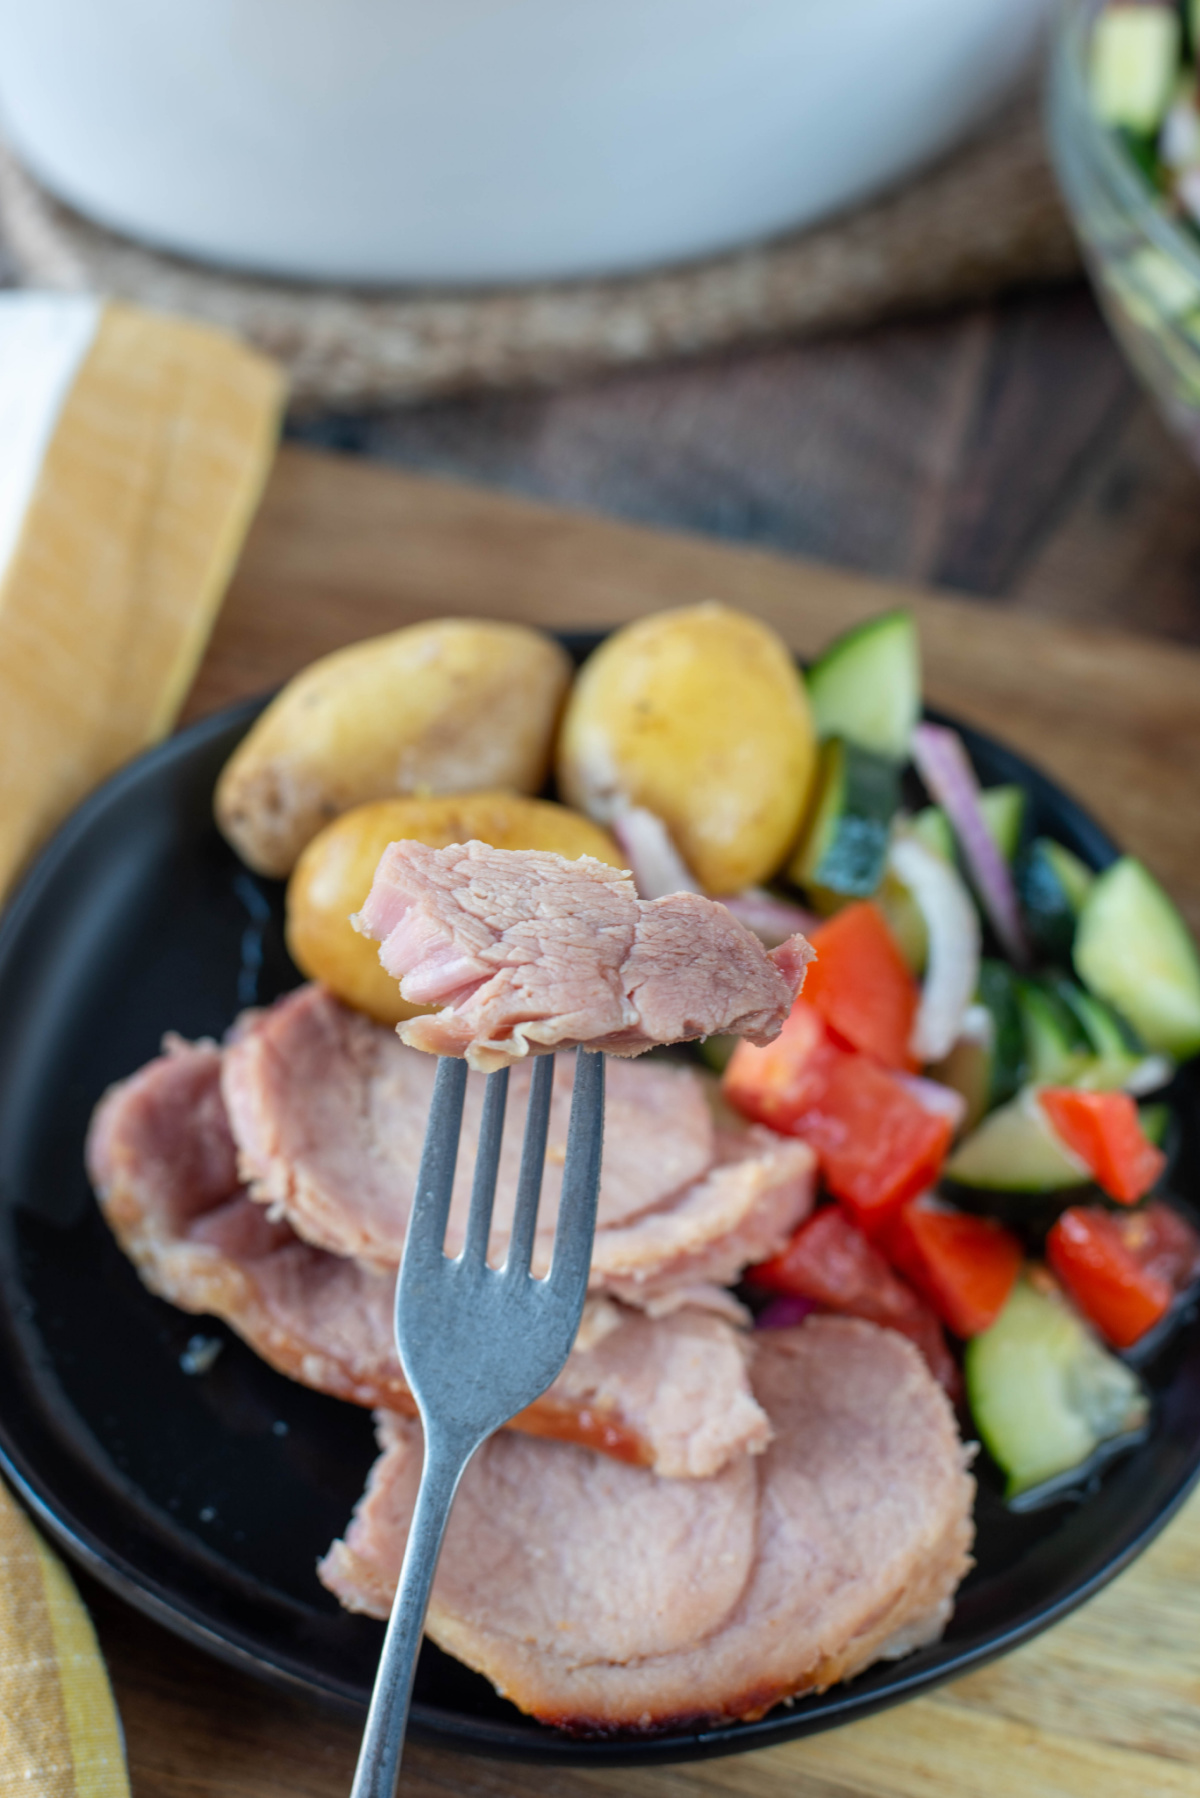
Things to serve with Cheesecake Parfaits:
These parfaits pair well with any kinds of cookout recipes. Some of my favorites are
Beer Marinated Grilled Porterhouse Steak
Garlic Herb Grilled Pork Chops
How to store leftovers:
Once assembled, they can be covered and refrigerated. I recommend storing for only a day. The graham crackers crumbs will turn soft quickly and the fruit will become mushy.
If you liked this recipe, please pin it or share it on your favorite social media for others to enjoy!
WANT EVEN MORE DELICIOUS RECIPES FROM MYSELF AND MY FAVORITE FOOD BLOGGERS? FOLLOW ME ON PINTEREST, TWITTER, INSTAGRAM, OR FACEBOOK, WHERE I SHARE NEW RECIPES DAILY. YOU CAN ALSO SUBSCRIBE BY EMAIL TO GET NEWLY POSTED RECIPES FOR FREE!

Patriotic Cheesecake Parfaits
Ingredients
- 0.9 ounces . Cheesecake Flavored Instant Pudding & Pie Filling (small box)
- 2 cups cold milk (NOT soy milk)
- 8 ounces Cool Whip or similar whipped topping, divided in half
- 6 graham cracker sheets crushed very finely
- 1 cup strawberries hulled and sliced
- 1 cup blueberries
Instructions
- In a large bowl, whisk pudding mix and milk together for 2 minutes; Set aside for 5 minutes and allow pudding to set.
- Meanwhile, place graham cracker sheets into a zipper-top plastic bag. Close bag and use a rolling pin or your hands to crush the crumbs finely. Place 2 tablespoons of crumbs into the bottom of each parfait glass.
- When pudding has set, use a whisk or wooden spoon to gently fold half of the whipped topping into the pudding.
- Layer 3-4 strawberry slices on top of the crumbs. Add 2-3 tablespoons of whipped topping on top of strawberries and use back of spoon to spread topping evenly. Add enough blueberries to cover whipped topping. Layer 3-4 tablespoons of pudding mixture over blueberries. Repeat with additional layers of crumbs, strawberries, whipped topping, blueberries, and pudding mixture until the parfait glasses are full. Garnish with additional whipped topping and fruit if desired.
Nutrition