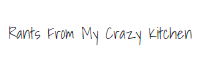
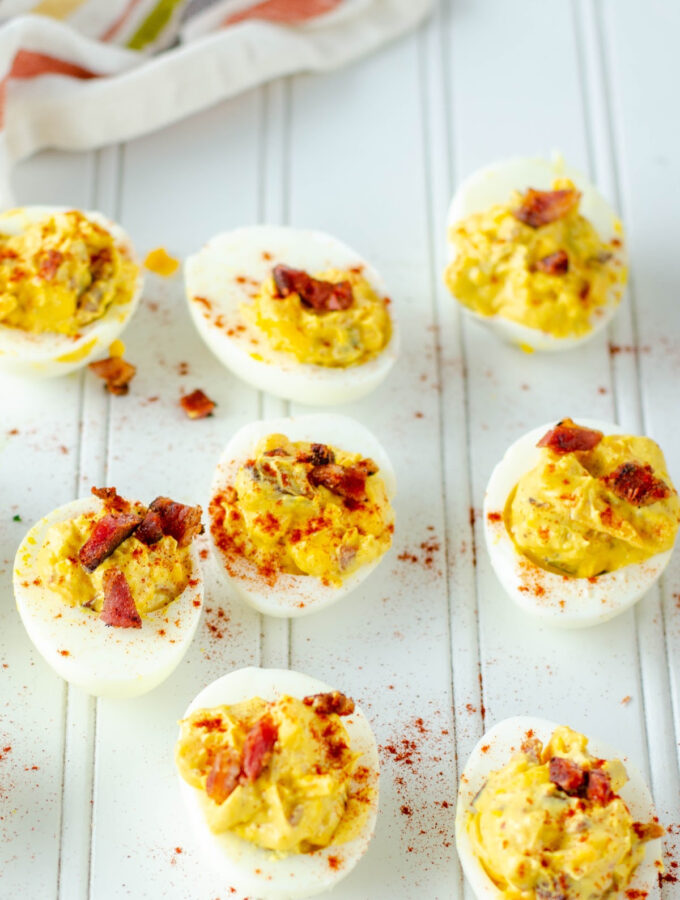
These Bacon Cheddar Deviled Eggs, made with crisp bacon and sharp cheddar cheese, are a great party appetizer for the holidays or anytime.
This post has been updated from it's original, published on January 3, 2013, with new photos and text. The recipe itself remains unchanged.
My husband, daughter, and I used go to my friend Sue's house every New Year's Eve for a party. I always brought some kind of dish. One summer we had a cookout and Sue brought me deviled eggs. She knows my husband doesn't like them and for some reason thinks it's funny. Anyway, her deviled egg tray ended up in my cabinet for months, and I said I would bring it back filled. Since it was New Year's I wanted to make something a bit fancier than just basic deviled eggs, and decided on deviled eggs with bacon. Everyone loved them, and since then I make them often for Easter and cookouts as well as New Year's Eve.
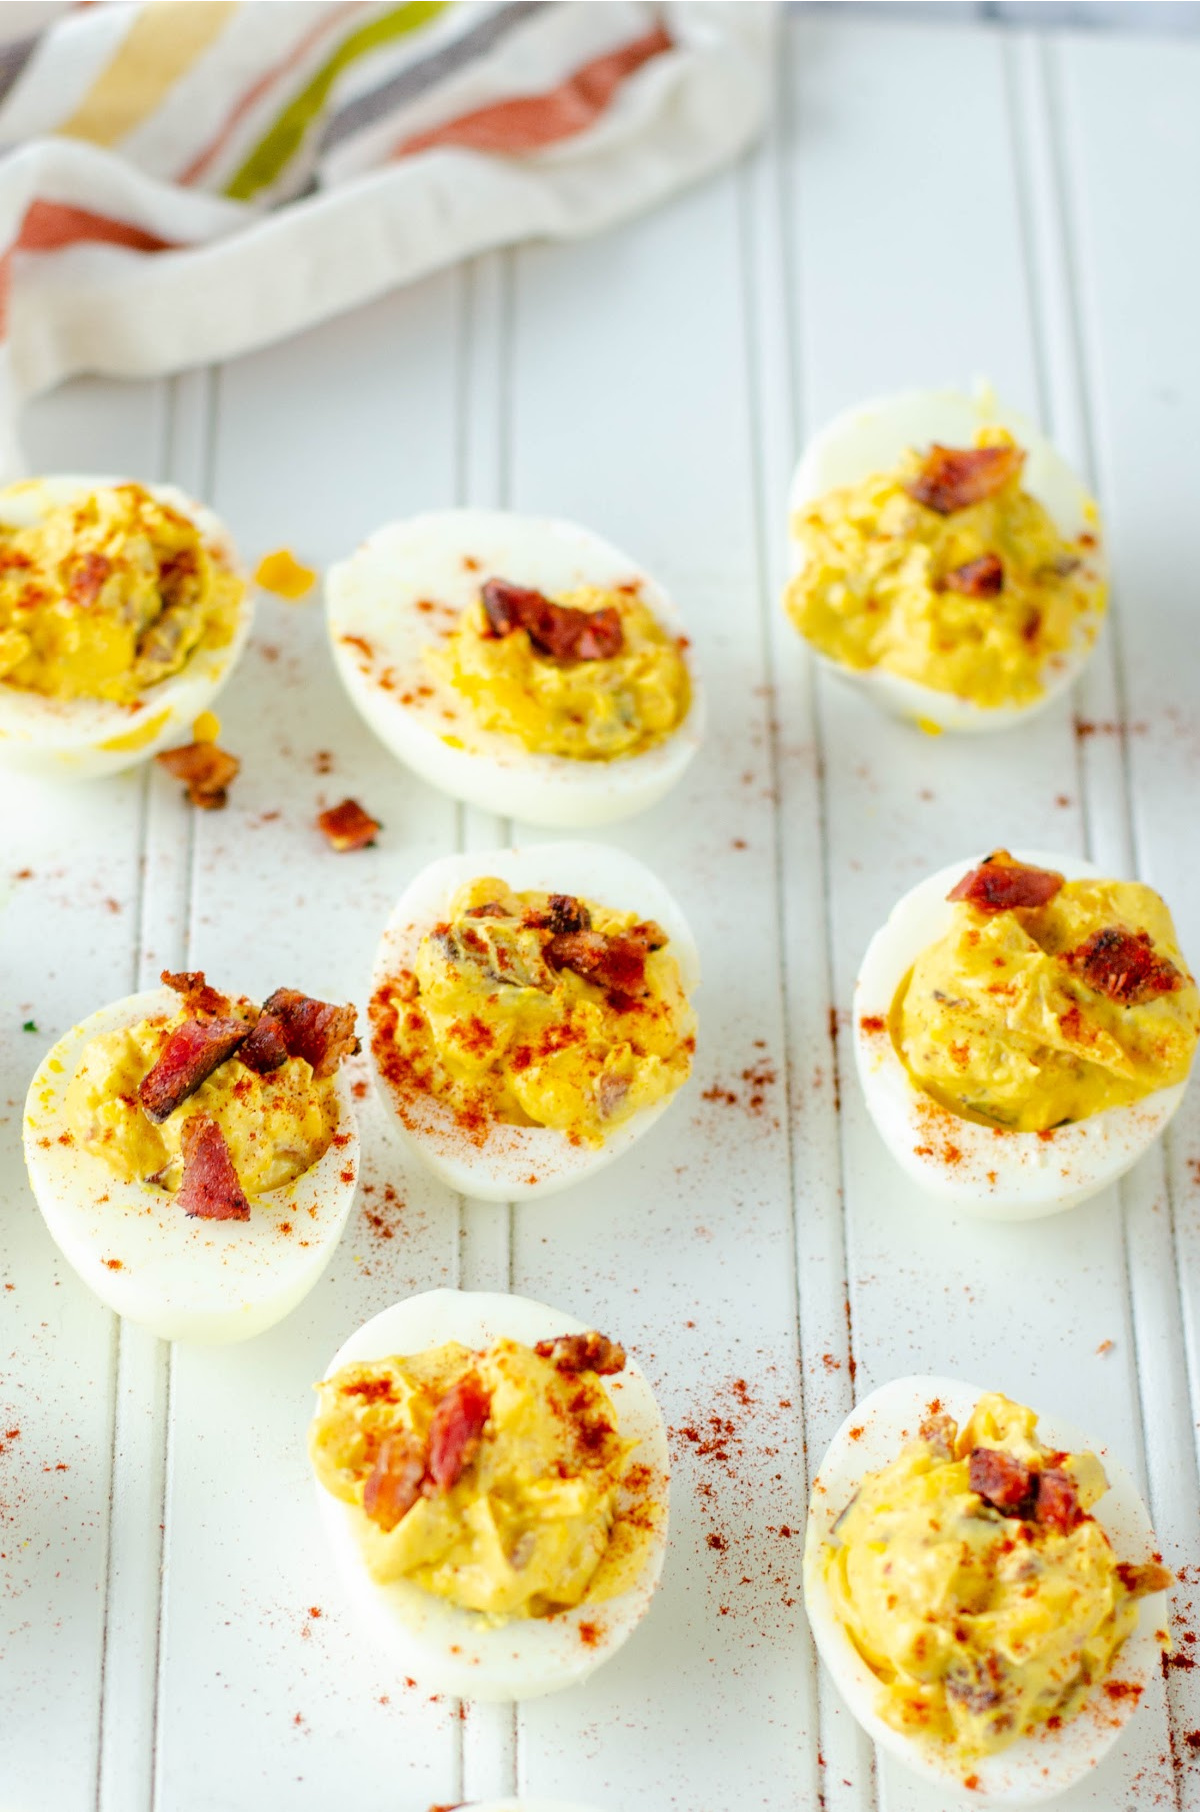
Ingredients needed:
- 12 large hard boiled eggs
- crumbled cooked bacon
- shredded cheddar cheese
- mayonnaise
- horseradish mustard (or your favorite mustard)
- paprika (for garnish)
Here is how to make Bacon Cheddar Deviled Eggs:
In the eight years since I originally wrote this recipe, I have changed my process for cooking hard boiled eggs several times. Today I usually either steam the eggs in a steamer my husband bought for about 15 minutes, or simmer them for 14 minutes. Today, I will stick with my original instructions.
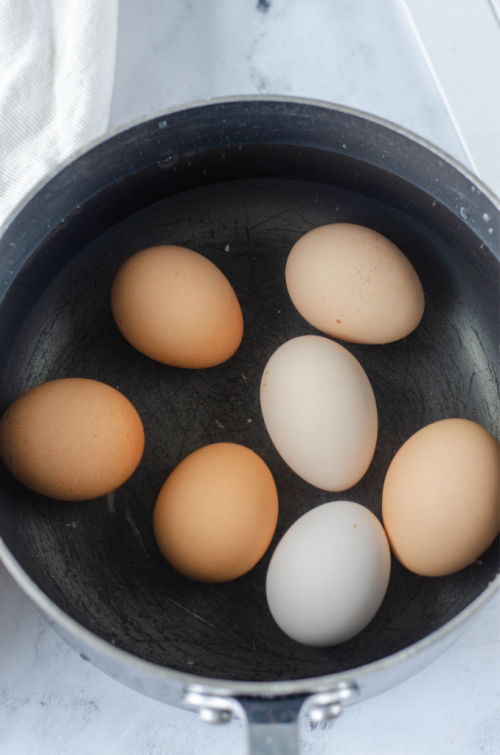
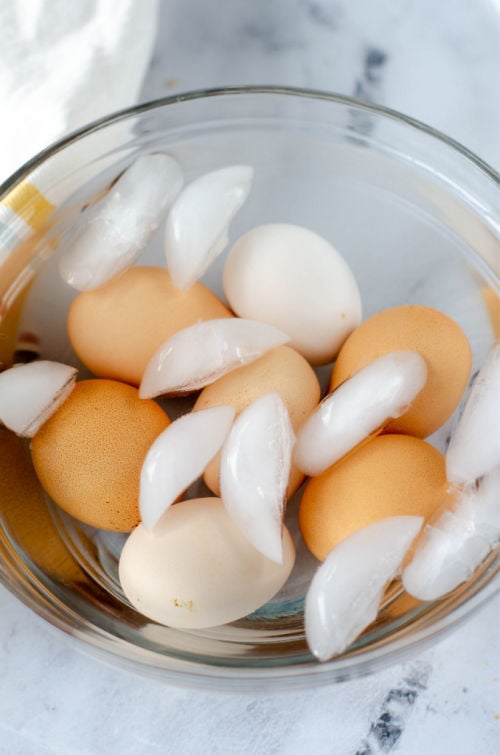
In a large pot, cover the eggs with cold water and bring to a boil. Remove from heat, cover, let sit for 15 minutes. Submerge the eggs in ice water until cooled.
While the eggs are cooling, fry five slices of bacon until crispy. Drain on paper towels and crumble four of the five slices.
Peel the eggs carefully, then slice in half length- wise.
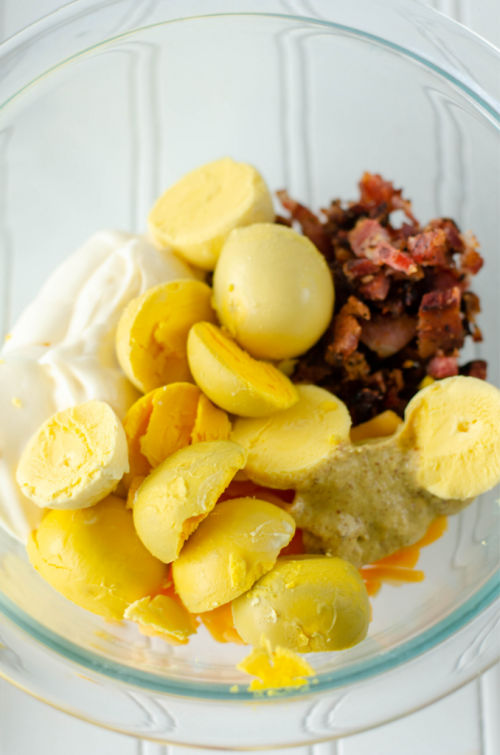
Remove the yolks to a small bowl and add the mayonnaise, crumbled bacon, cheddar cheese, and mustard. You can prepare these deviled eggs without mustard, if you want.
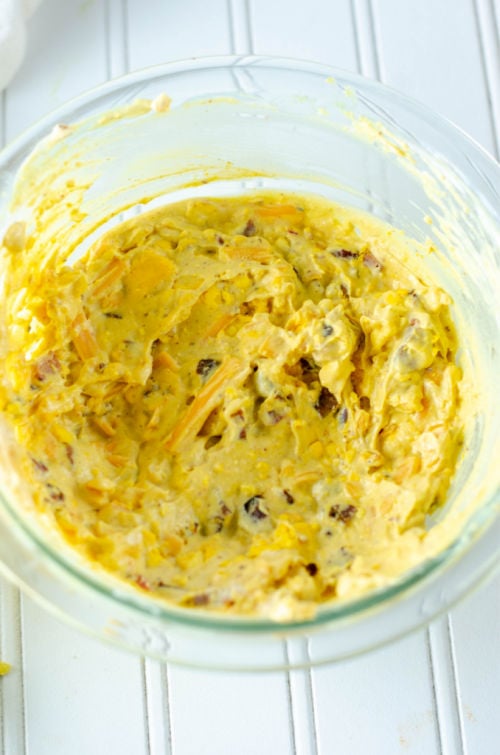
Mix well with a spoon or a potato masher.
Using a spoon or pastry bag with a large tip, fill the egg white halves with the mixture. Crumble remaining 1 slice bacon and top each egg half with a few crumbles. Dust lightly with paprika.
Cover the prepared deviled eggs with bacon loosely with plastic wrap and refrigerate until serving.

These Bacon Cheddar Deviled Eggs are great for any party, get together, holiday, or cookout! Here are some more great party food recipes:
Crack Dip (Bacon Cheddar Ranch Dip)
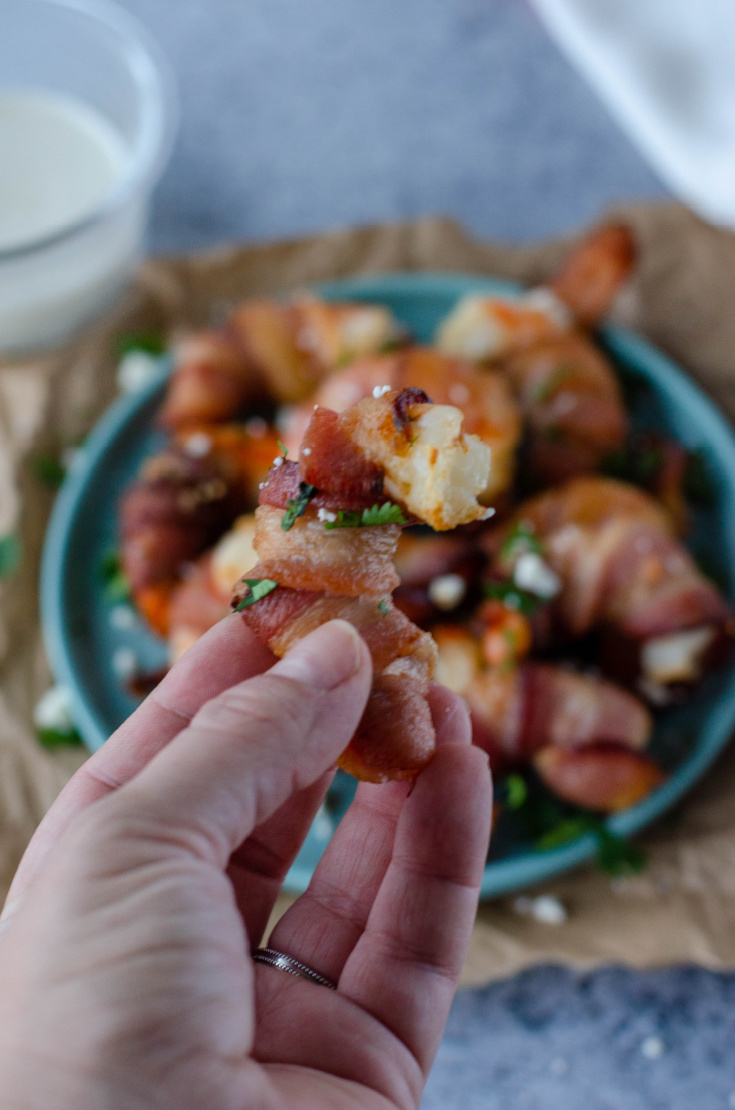
Brown Sugar Bacon Wrapped Chicken Bites
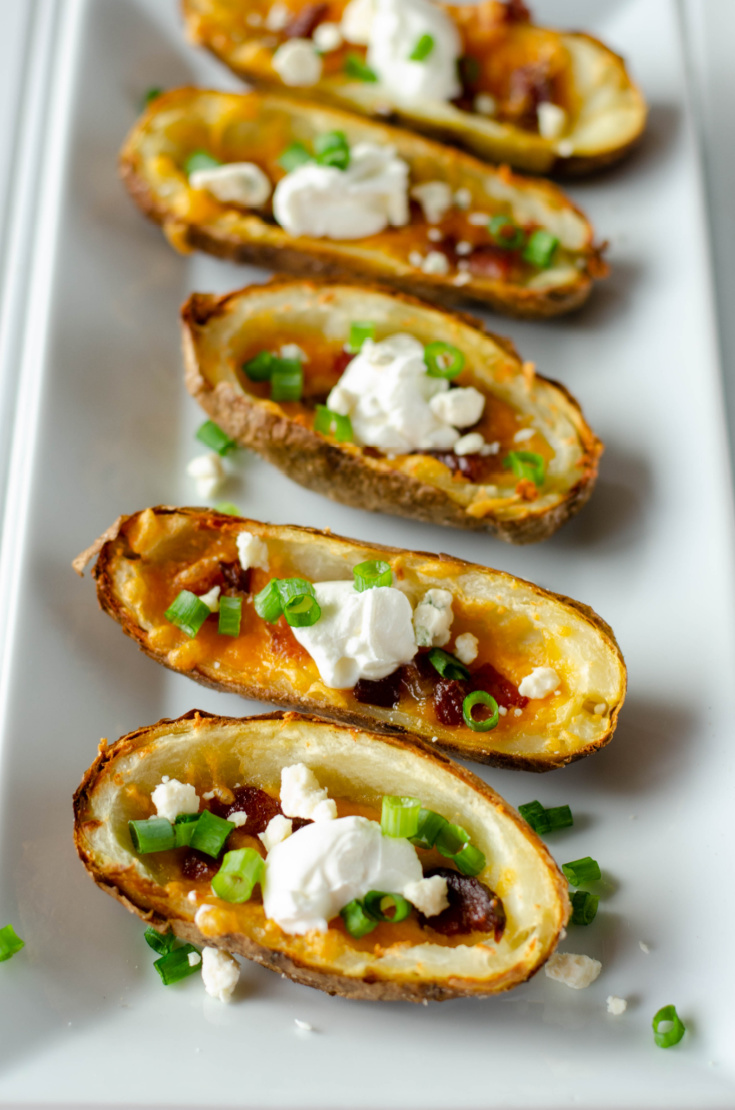
New Year's Eve Party Appetizers
WANT EVEN MORE DELICIOUS RECIPES FROM MYSELF AND MY FAVORITE FOOD BLOGGERS? FOLLOW ME ON PINTEREST, FACEBOOK,TWITTER, OR INSTAGRAM, WHERE I SHARE NEW RECIPES DAILY. YOU CAN ALSO SUBSCRIBE BY EMAIL TO GET NEWLY POSTED RECIPES FOR FREE!

Bacon Cheddar Deviled Eggs
Ingredients
- 12 eggs
- 5 slices bacon
- 2 tablespoons shredded sharp Cheddar cheese
- ½ cup mayonnaise
- 1 tablespoon horseradish mustard I used French’s brand, but if you can’t find horseradish mustard,spicy brown mustard would be fine
- paprika
Instructions
- In a large pot, cover the eggs with cold water and bring to a boil. Remove from heat, cover, let sit for 15 minutes. Submerge the eggs in ice water until cooled, then peel.
- While the eggs are cooling, fry the bacon in a pan until crispy. Drain on a plate covered with paper towels, then crumble 4 of the pieces, reserving one piece.
- Peel the eggs and slice in half length-wise. Remove the yolks to a small bowl and add the mayonnaise, crumbled bacon, cheddar cheese, and mustard, and mix well with a spoon. Using a spoon or pastry bag with a large tip, fill the egg white halves with the mixture. Crumble remaining 1 slice bacon and top each egg half with a few crumbles. Dust lightly with paprika. Cover loosely with plastic wrap and refrigerate until serving.