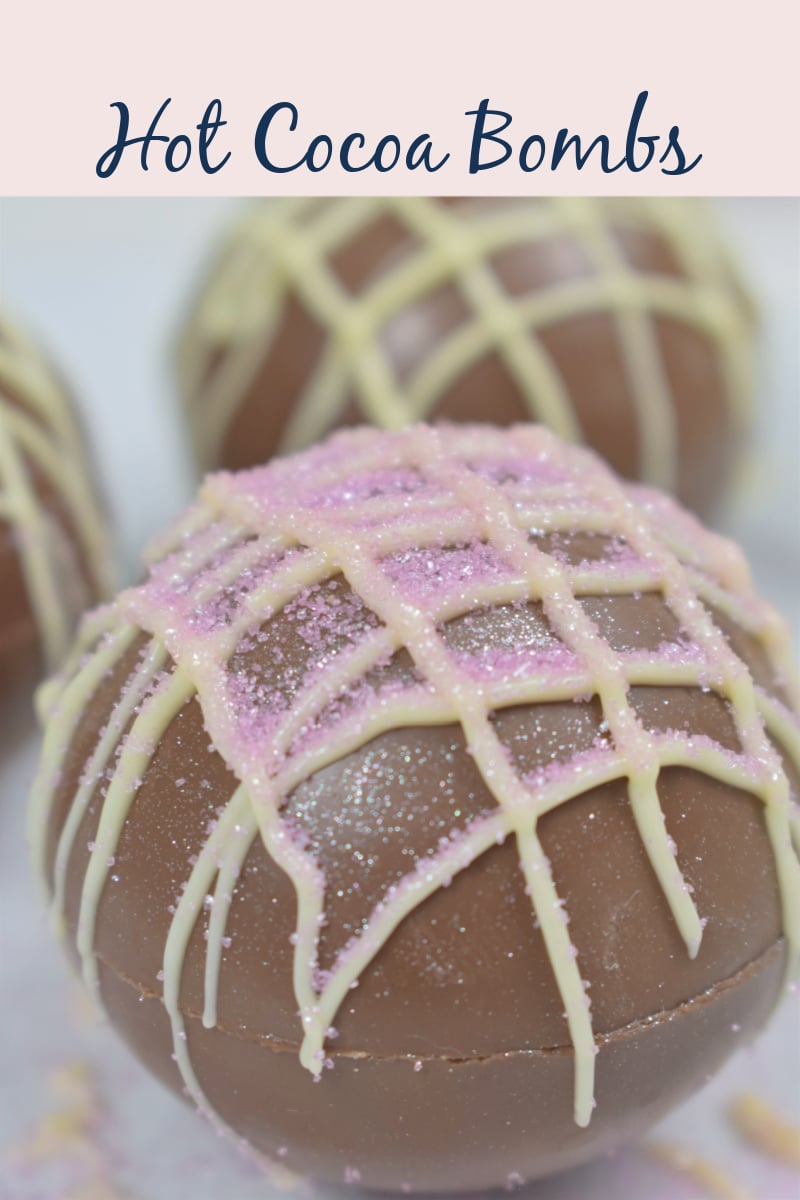
These Hot Chocolate Bombs with marshmallows, your favorite chocolate, hot cocoa mix, and decorations are fun to make as a gift or treat.
What is a hot chocolate bomb?
Hot chocolate bombs are made in a silicone mold, filled with hot cocoa mix and mini marshmallows (or whatever you like in hot chocolate), then sealed together by melting the edges, and decorated as desired.
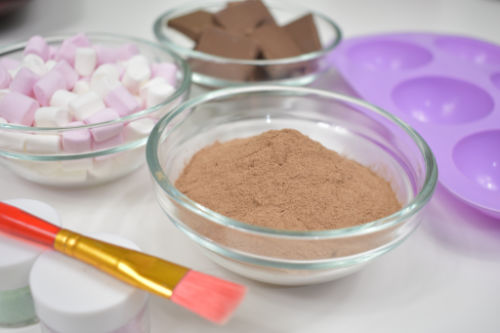
You will need:
milk chocolate
mini marshmallows
hot chocolate mix
decorations such as sprinkles, edible glitter, and melted white chocolate
You will also need a hot chocolate bomb mold set that can be purchased at a variety of stores or online, and a paintbrush or small spoon to add the melted chocolate to the molds.
How to assemble (with step-by-step photos)
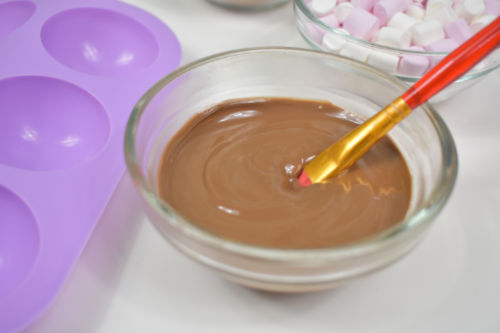
At first glance, these might look hard to do, but they really aren't. Start by melting milk chocolate in a microwave safe bowl placed in a larger bowl filled with some water to keep the chocolate from hardening, for twenty seconds at a time, stirring in between each time, until fully melted.
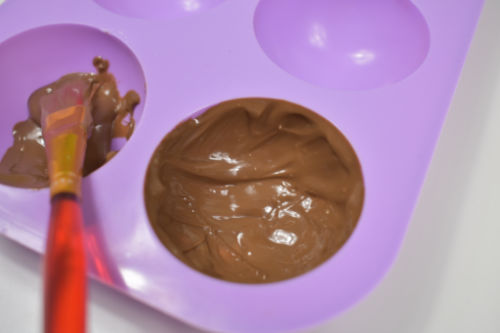
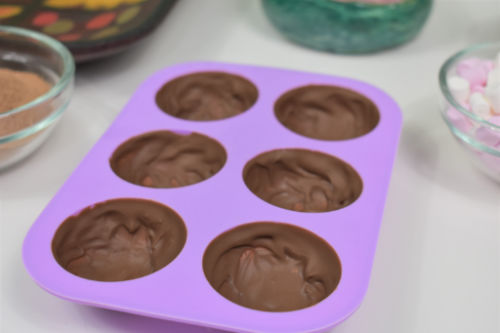
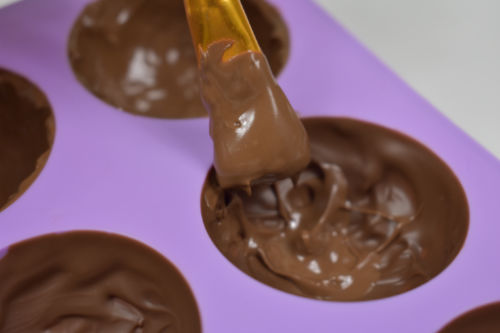
Using a small paintbrush or the back of a small spoon, paint a layer of chocolate into each of the six molds, then place flat in the freezer for three minutes or until set.
Coat the molds in another layer of chocolate, focusing on the sides of the molds to make them thicker. The bottoms should already be quite thick from the chocolate settling from the first coat. Place back in the freezer for another three minutes or until set.
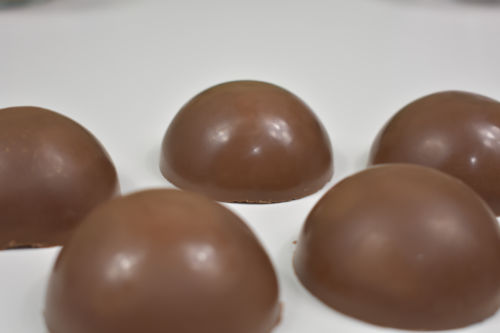
Keeping your fingers cold or using food safe gloves placed in the freezer for a few minutes to chill, very carefully pry the molds away from the chocolate and push the chocolates out. I recommend using chilled gloves so that the chocolate doesn't melt from warm fingers.
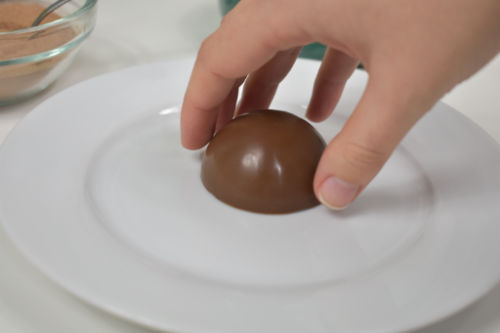
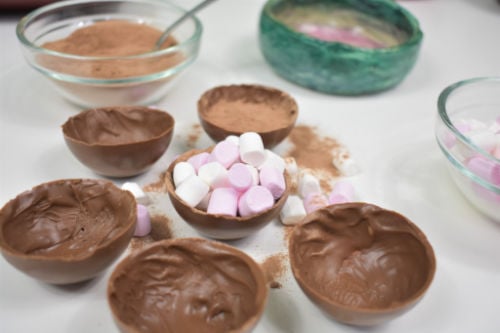
Now you need to melt the edges of each half. Take a small microwave-safe plate and microwave the plate alone for 45 seconds. Place one half of a bomb on the plate for a few seconds to melt the edge.
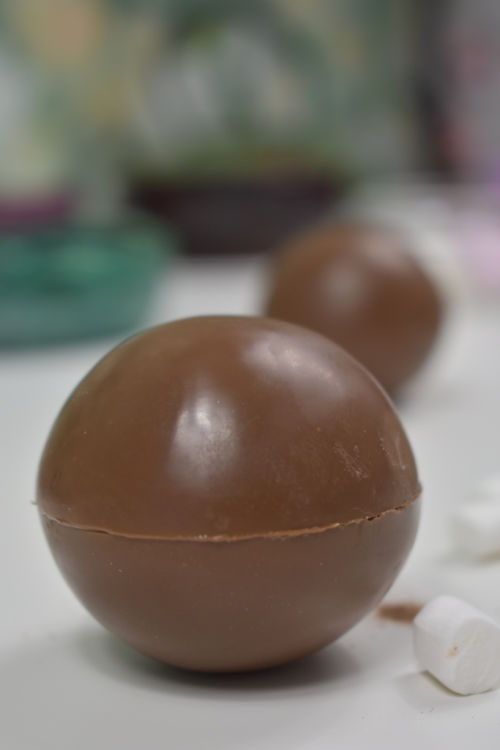
Then, swiftly fill with 2 teaspoons hot cocoa mix and 2 teaspoons mini marshmallows. Place the other half of the bomb on the plate to melt the edge, place both halves together and hold for a few seconds to seal. Repeat this process with the other two bombs.
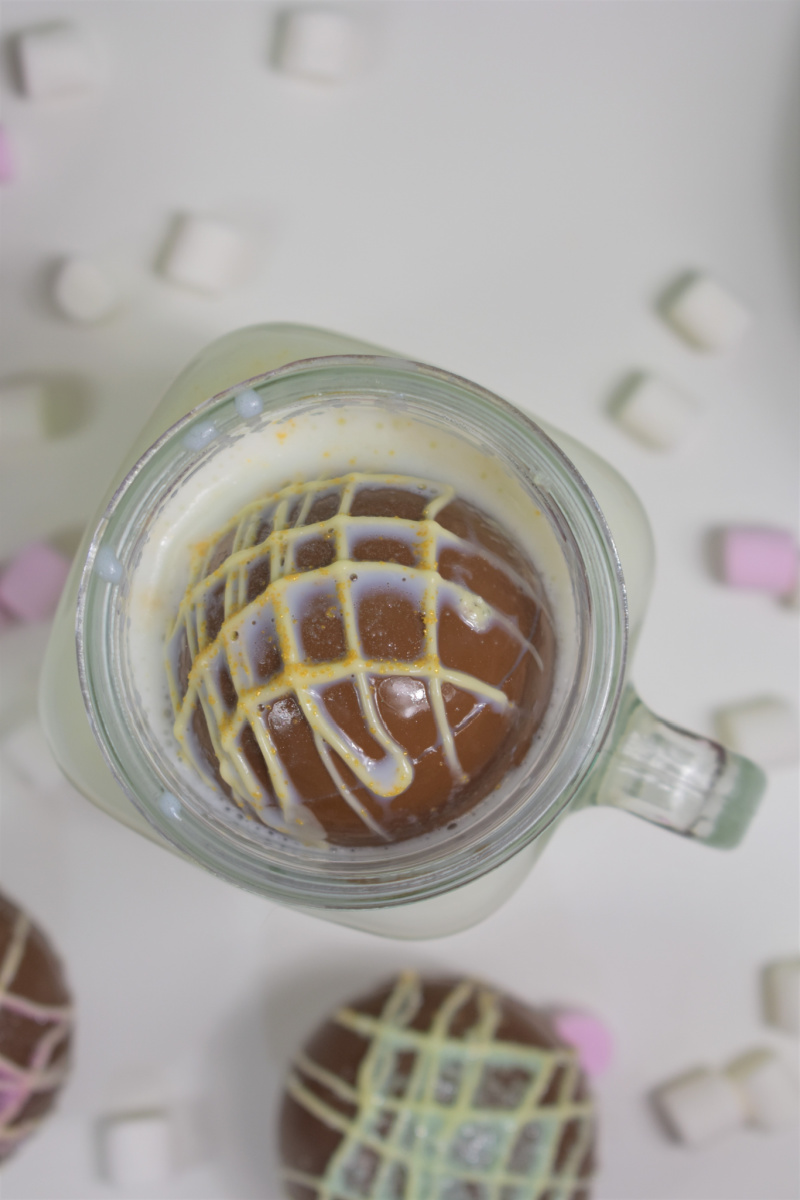
Lastly, comes the real fun part, decoration! Use any leftover melted milk chocolate or use a small amount of melted white chocolate instead if preferred. Place chocolate into a piping bag or just drizzle over the bombs with a spoon. This chocolate will harden quickly so add on your sprinkles, glitter, etc. quite quickly as the melted chocolate acts as a glue to hold it all on. When ready to use, place in a mug of hot milk and watch the bomb erupt. Give it a good stir before drinking and enjoy!
How to store hot chocolate bombs
These can be stored in an air tight container away in a cool, dark place for up to two weeks. They will not have to be refrigerated unless it is very warm in your kitchen.
Looking for more delicious treat to make and share? Try these:
Easy Salted Chocolate Caramels
WANT EVEN MORE DELICIOUS RECIPES FROM MYSELF AND MY FAVORITE FOOD BLOGGERS? FOLLOW ME ON PINTEREST, FACEBOOK, TWITTER, OR INSTAGRAM, WHERE I SHARE NEW RECIPES DAILY. YOU CAN ALSO SUBSCRIBE BY EMAIL TO GET NEWLY POSTED RECIPES FOR FREE!
Hot Chocolate Bombs
Ingredients
- 120 g milk chocolate (about 4 ¼ ounces)
- 6 teaspoons of mini marshmallows
- 6 teaspoons of hot chocolate mix
- Decorations of choice e.g sprinkles, edible glitter
- Extra 20g of white chocolate for decoration if desired (about ¾ ounce)
Instructions
- Break up milk chocolate into small pieces and place into a microwave safe bowl. Place this bowl into a larger bowl, half filled with hot water to help keep the chocolate from hardening.
- Heat for 30 seconds and stir. Keep heating at 20 second intervals stirring in between until chocolate is fully melted.
- Either using a paintbrush or back of a small spoon, coat the 6 molds in a layer of the melted chocolate.
- Pop molds flat in the freezer for 3 minutes or until set.
- Coat the molds in another layer of the chocolate and this time focus on the sides of the molds to make them thicker. The bottom of the molds will be quite thick already as this is where most of the chocolate settled from the first coat. Again, pop flat into the freezer for 3 minutes until set.
- Very gently, pry the molds away from the chocolate and carefully push the chocolate out. Be very careful touching the chocolate as it is easy for your warm fingers to begin melting it and leave smudge marks. Keep your fingers cold or use food gloves placed in the freezer for a few minutes if needed.
- Heat a small microwave safe plate in the microwave for 45 seconds.
- Place one of your half bombs on the warm plate for just a couple of seconds so it can melt the edge.
- Swiftly, fill that same mold with 2 teaspoons of hot chocolate mix followed by 2 teaspoons of mini marshmallows.
- Take another half bomb and as before, melt the edge on the warm plate.
- These two halves are now ready to create your full bomb, just place both halves together and hold for a few seconds.
- Repeat this process for the other 2 bombs.
- Lastly, comes the real fun part, decoration!! Use any leftover melted milk chocolate or use a small amount of melted white chocolate instead if preferred. Place chocolate into a piping bag or just drizzle over the bombs with a spoon.
- This chocolate will harden quickly so add on your sprinkles, glitter, etc. quite quickly as the melted chocolate acts as a glue to hold it all on.
- When ready to drink, simply place into a mug of hot milk and watch the bomb erupt. Give it a good stir before drinking and enjoy!
Notes
Nutrition


Leave a Reply