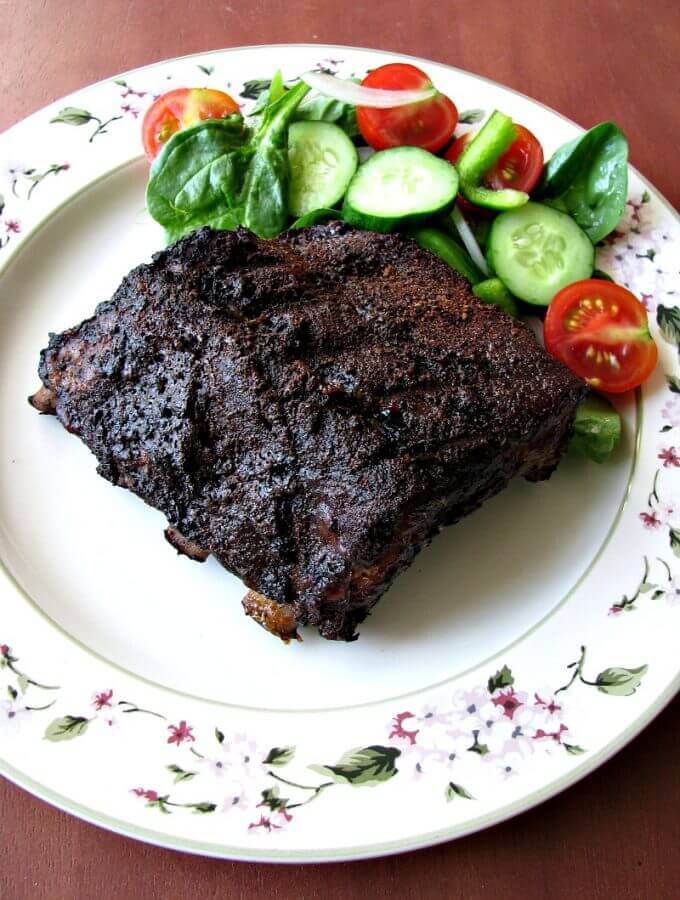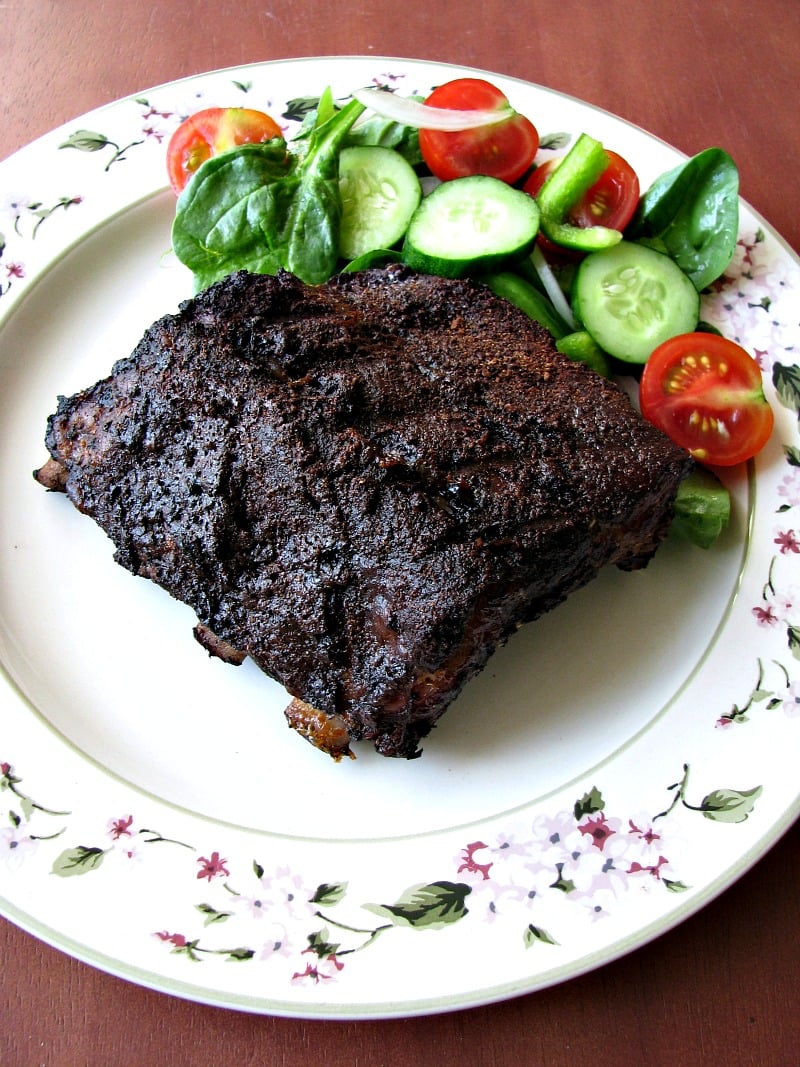
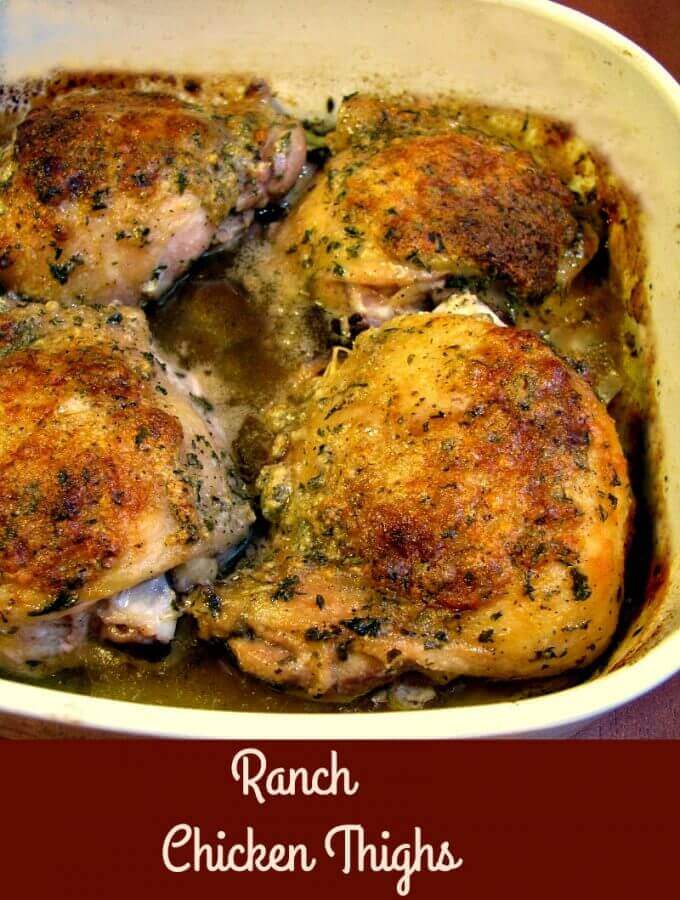
Crispy, tangy baked Ranch Chicken Thighs are a delicious, easy dinner great for kids and adults alike, and are ready in under an hour.
Amanda is seven now, and still an incredibly picky eater. I shouldn't be surprised, she is just like me! Well, almost. She won't eat mashed potatoes, or sauce on spaghetti, and I don't think that's normal. But, I digress.
Two things she has always loved is chicken and ranch dressing, but she never had them together in a recipe until I made these oven baked Ranch Chicken Thighs. I love it when I find something new that we all agree is good! My husband will eat pretty much anything, but I can't count how many times Amanda has barely taken a bite of something new and decided she hated it. Not this time! These chicken thighs with ranch seasoning quickly became her new favorite.
Ranch Chicken Thighs
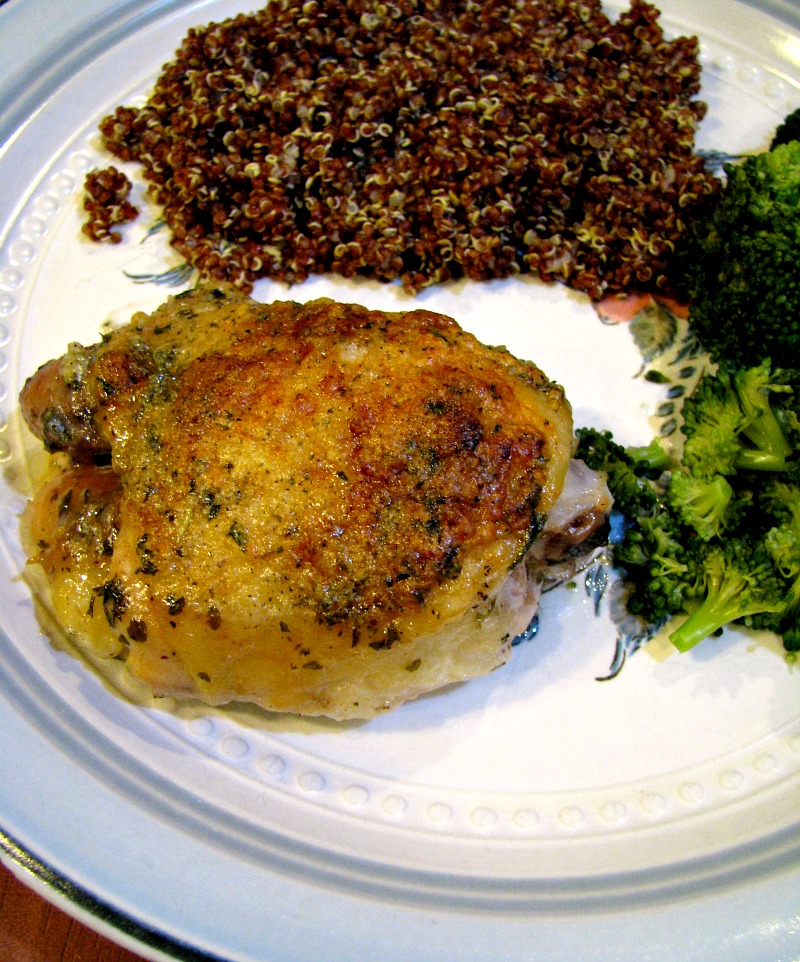
Normally when we have chicken, Amanda insists on rice with it. This time I wanted her to try red quinoa, and she ate it. Of course, she kept calling it rice even though I told her what it was, but I got her to eat something that she normally wouldn't, and is healthy. This dinner was definitely a win!
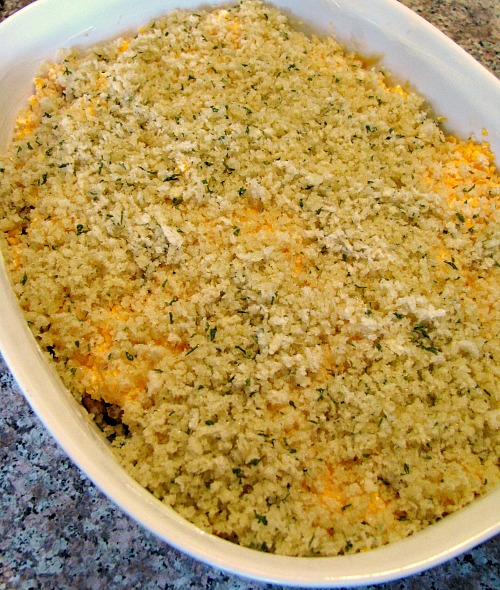
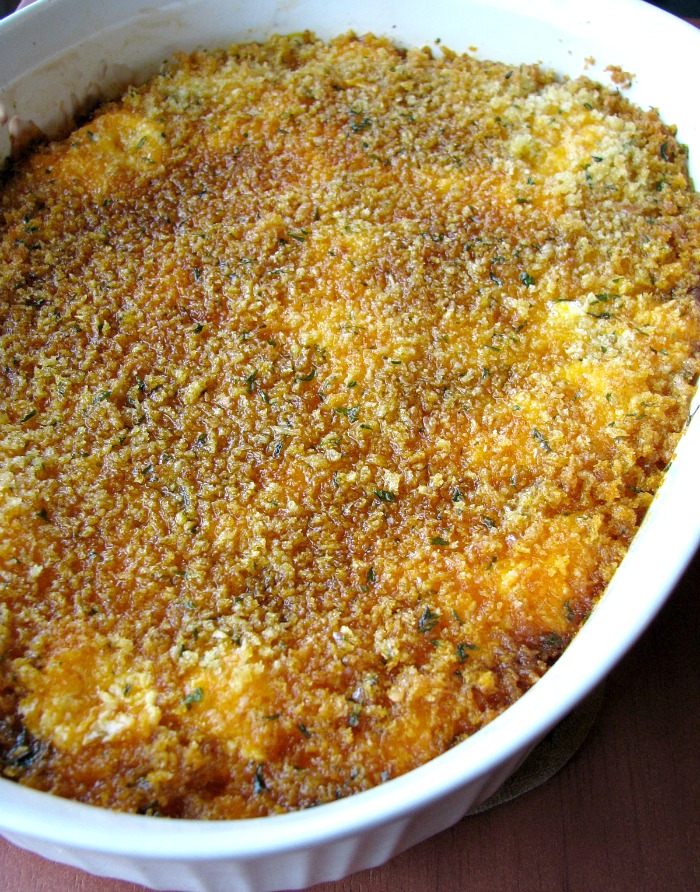
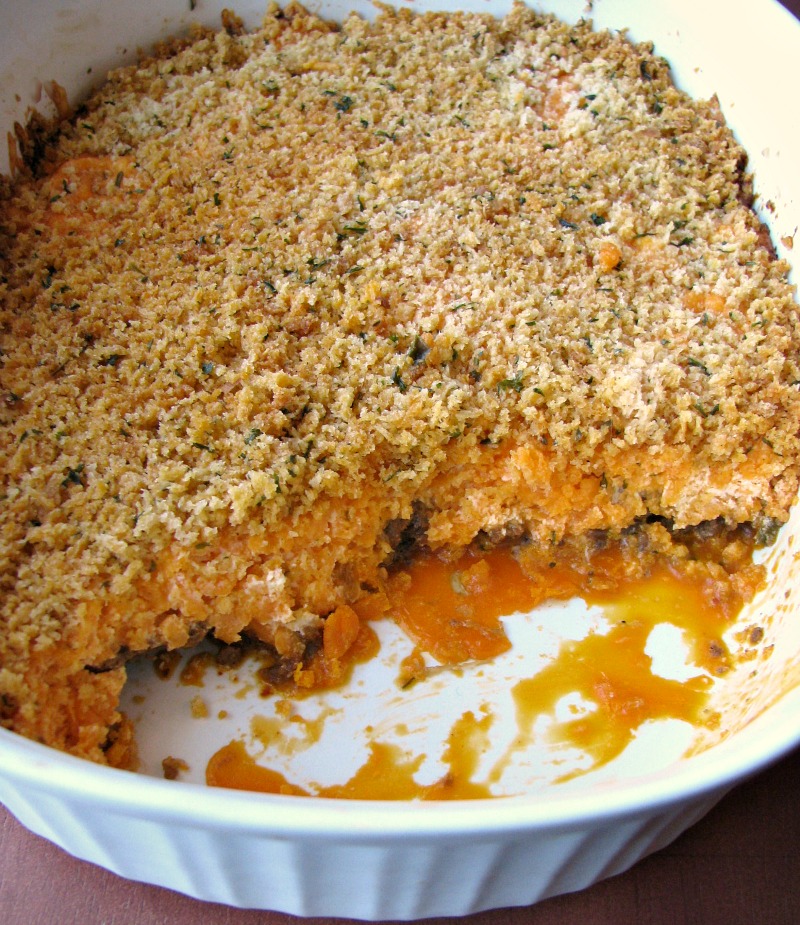
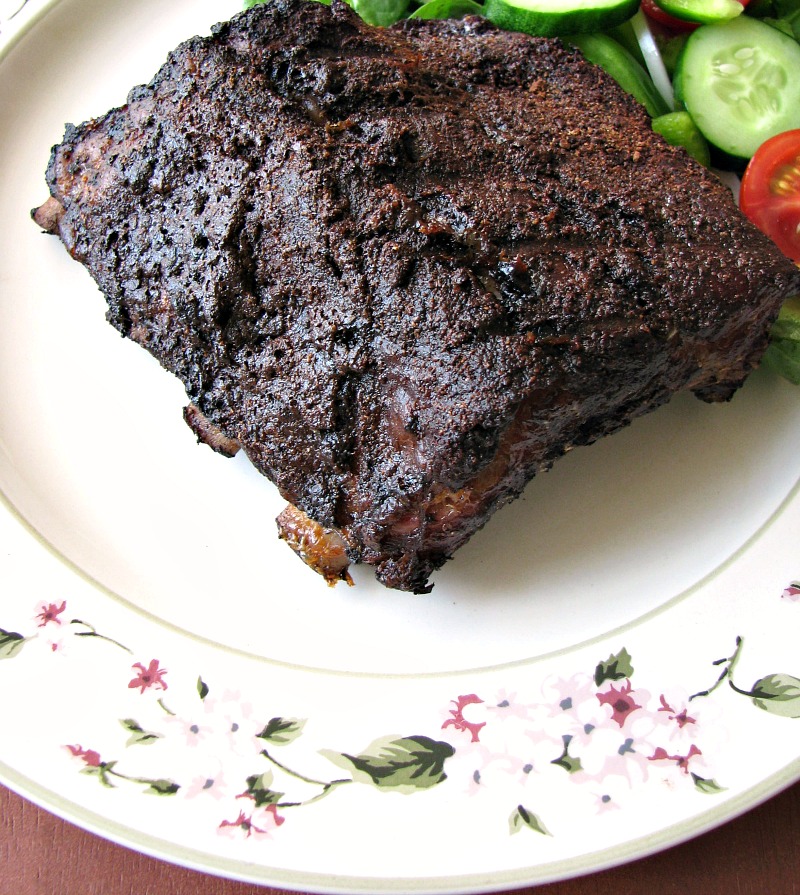
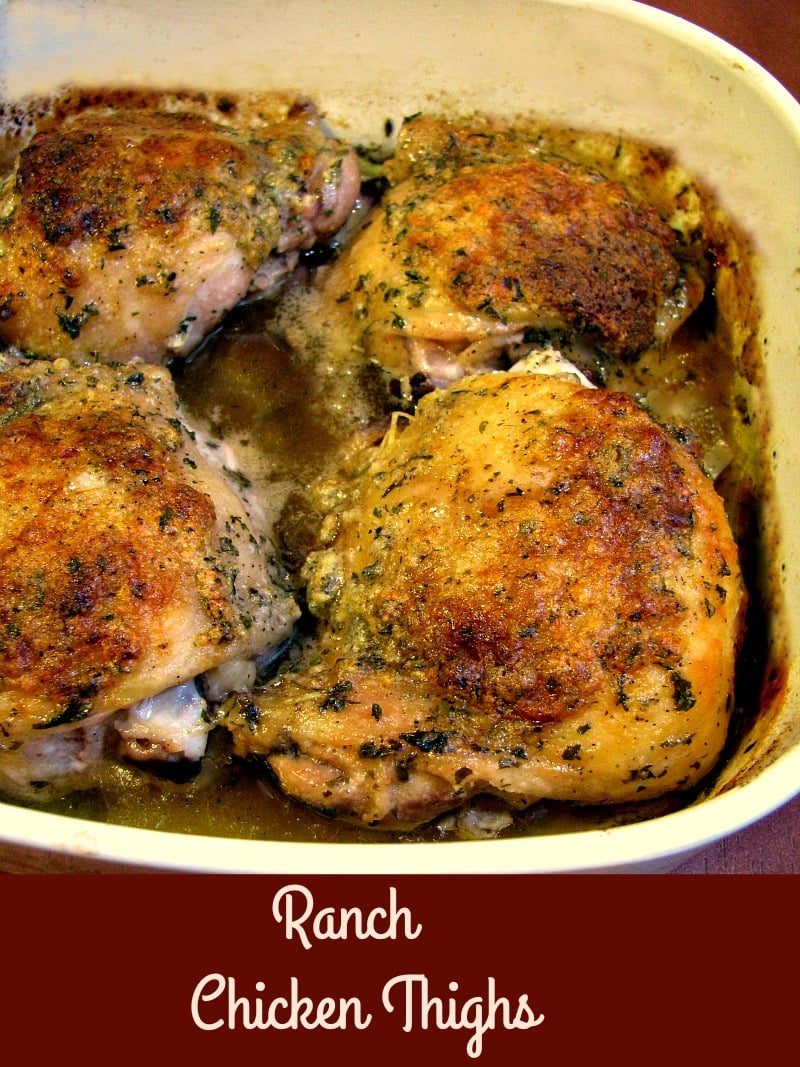
The Ranch Chicken Thighs, which were inspired by Carrie's Experimental Kitchen use bone-in, skin-on thighs, coated in canola oil, with a dry ranch seasoning rub. Bake them in a casserole dish at 375 F for about 45 minutes. They come out with a crispy browned, tangy skin (you can easily remove it if you don't want the fat, and the chicken is still amazing) and juicy, flavorful chicken.
Need more unique chicken recipes? Try these:
Brown Sugar Bacon Wrapped Chicken Bites
Roasted Garlic Butter Chicken Legs
WANT EVEN MORE DELICIOUS RECIPES FROM MYSELF AND MY FAVORITE FOOD BLOGGERS? FOLLOW ME ON PINTEREST, TWITTER, INSTAGRAM, OR FACEBOOK, WHERE I SHARE NEW RECIPES DAILY. YOU CAN ALSO SUBSCRIBE BY EMAIL TO GET NEWLY POSTED RECIPES FOR FREE!
Ranch Chicken Thighs
Ingredients
- 4 bone-in, skin-on chicken thighs skin-on chicken thighs
- ¼ cup canola oil
- 2 ounces powdered Ranch dressing mix (two packets)
- 1 teaspoon dried parsley
- ¼ teaspoon salt
- ⅛ teaspoon black pepper
Instructions
- Preheat the oven to 375 degrees F.
- In a shallow bowl combine the ranch dressing mix, parsley, salt and black pepper, mix well.
- Place the chicken thighs in a deep casserole dish, pour the oil over the chicken and turn to coat. Rub the chicken with the ranch mixture, turning and coating all sides.
- Bake in the preheated oven for 45 minutes, or until it reaches 165 on a meat thermometer.
Notes
Nutrition