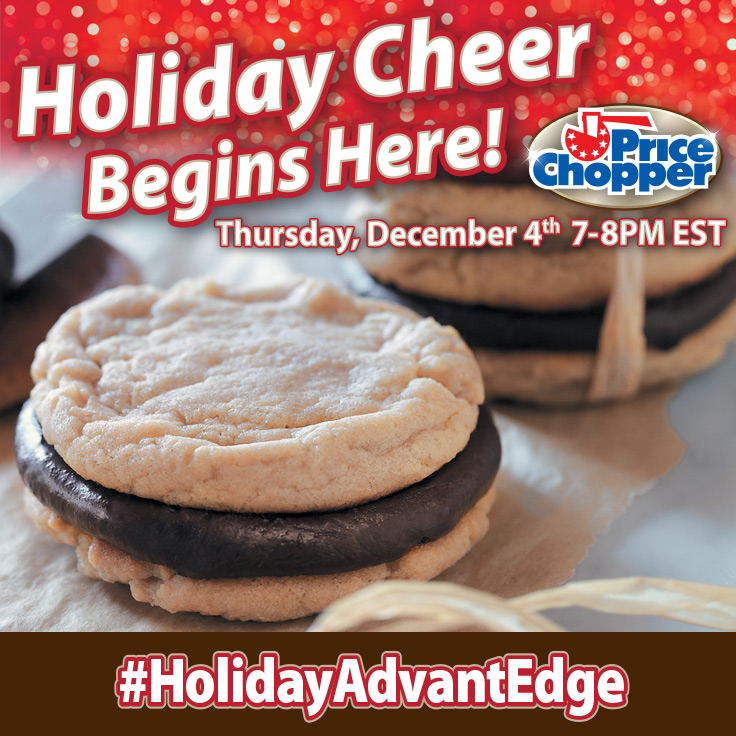
This shop has been compensated by Collective Bias, Inc. and its advertiser, Price Chopper.

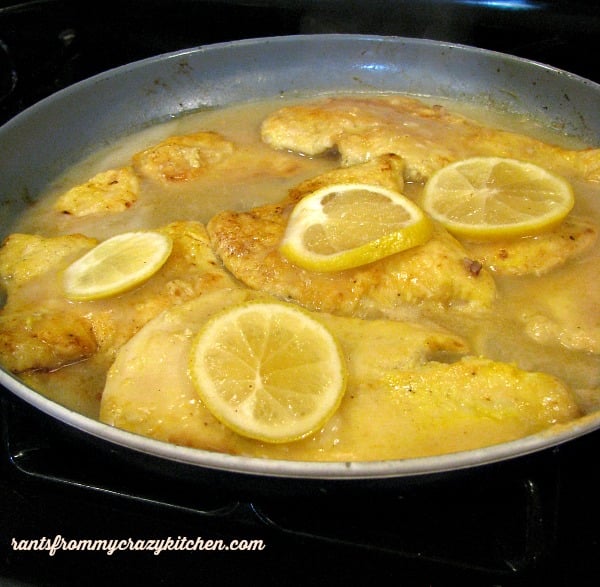
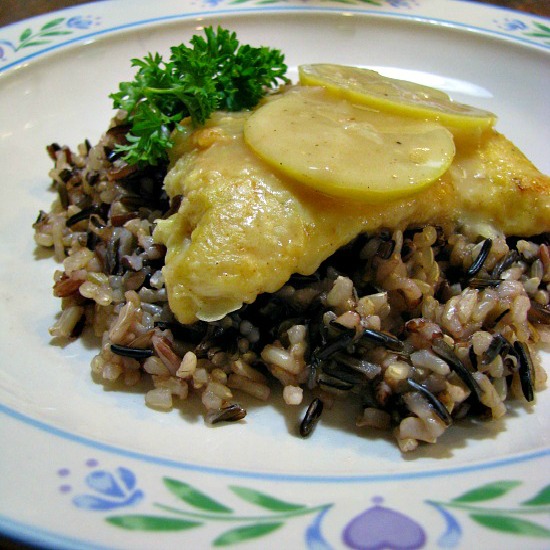
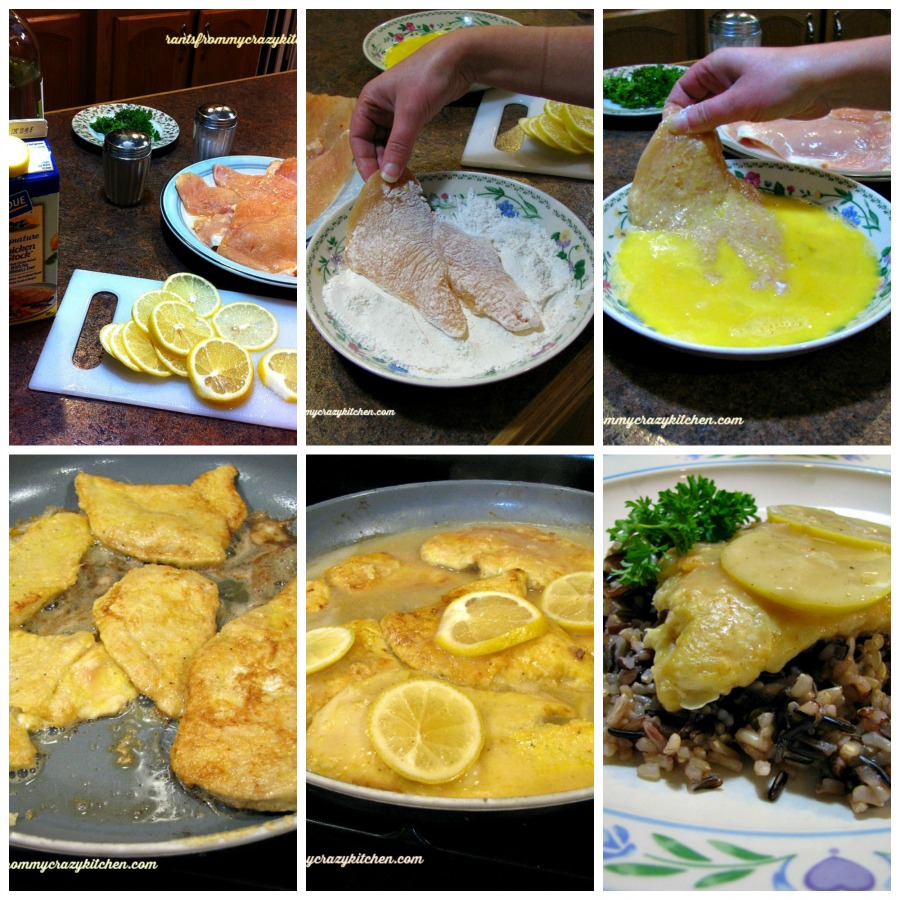
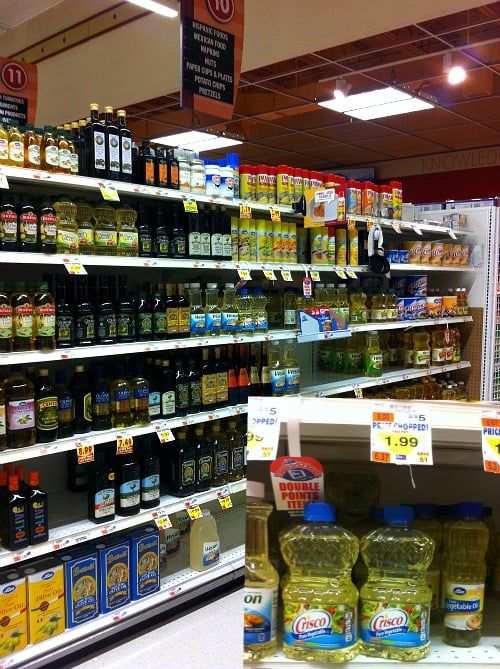
Whether you are looking for easy, new holiday recipes, time or money savings tips, you’ll find a ready resource for all your seasonal plans at your local Price Chopper Solution Center. Before you make your next shopping list, you’ll also want to explore the #HolidayAdvantEdge Recipe Board on Pinterest where you’ll discover a wealth of holiday solutions that are the perfect fit for your busy schedule and your budget.
Speaking of the perfect fit, how would a $1000 Price Chopper Shopping Spree fit into your holiday plans? Enter the #HolidayAdvantEdge Sweepstakes for your chance to win a $1000 Price Chopper gift card!
Price Chopper stores are located in New York, Massachusetts, Vermont, Connecticut, Pennsylvania, and New Hampshire. Find the nearest store to you with the store locator.
HOW TO ENTER
- Visit #HolidayAdvantEdge $1000 Sweepstakes Entry Form below.
- Provide name and email address so we can contact you if you win!
- Find inspirational Pins from our #HolidayAdvantEdge Board on the entry form.
- Create a single Pin. You may select one of the Inspiration Pins provided.
- See complete Official Rules below.
Hurry - your chance to enter to win
ends on December 17 at 11:59pm EST!