


More recent posts
-

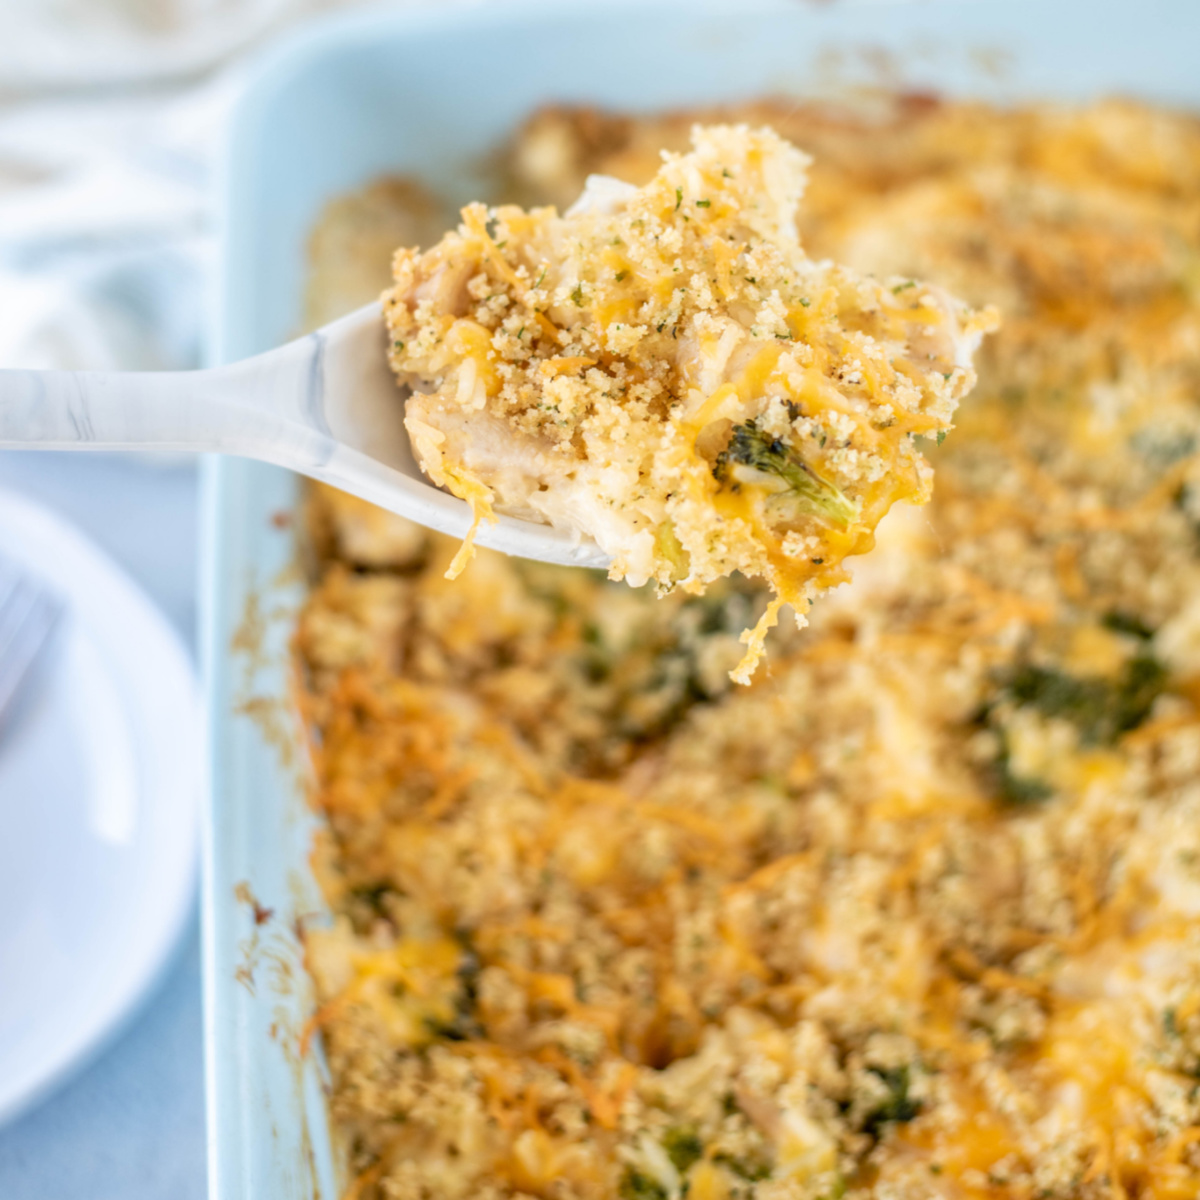
Chicken Broccoli Rice Casserole
Prepare a hearty, healthy meal all in one dish! This Chicken Broccoli Rice Casserole is the perfect dinner option for any day of the week. Going out to eat isn’t always an option for most, but cooking up dinner after a hard day isn’t always easy either. That’s why I love casserole dishes. This easy...
-
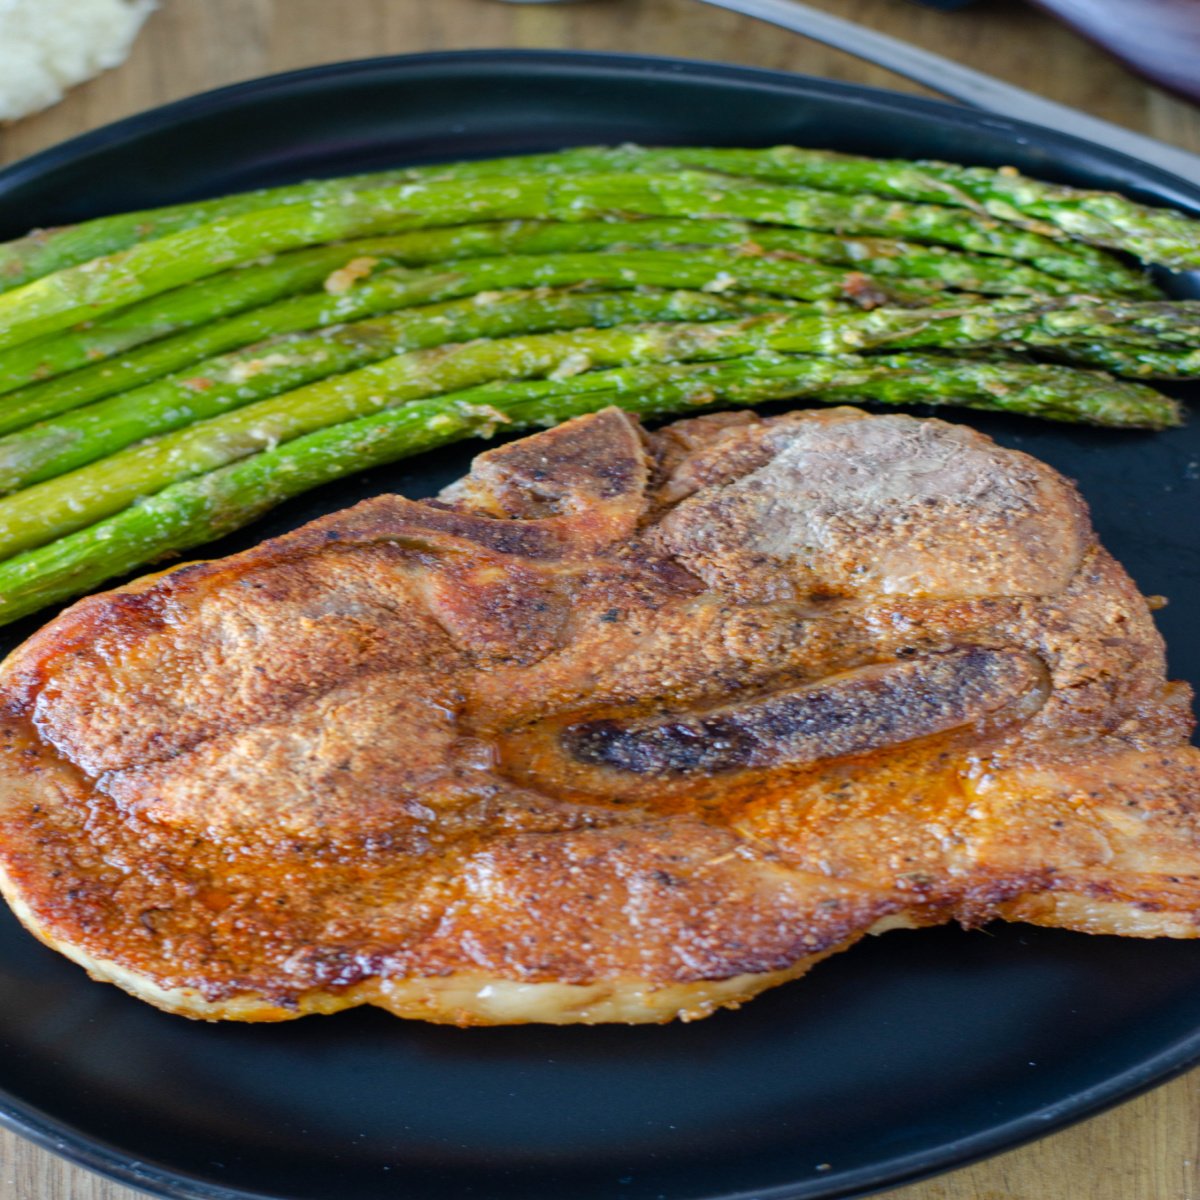
Air Fryer Pork Chops
Instead of frying pork chops, save on the calories and create a healthier meal with this recipe for juicy and flavorful Air Fryer Pork Chops. I always struggle with pork chops. Maybe it's because I expect them to come out juicy and tender, but they tend to be dry. However, with this air fryer...
-
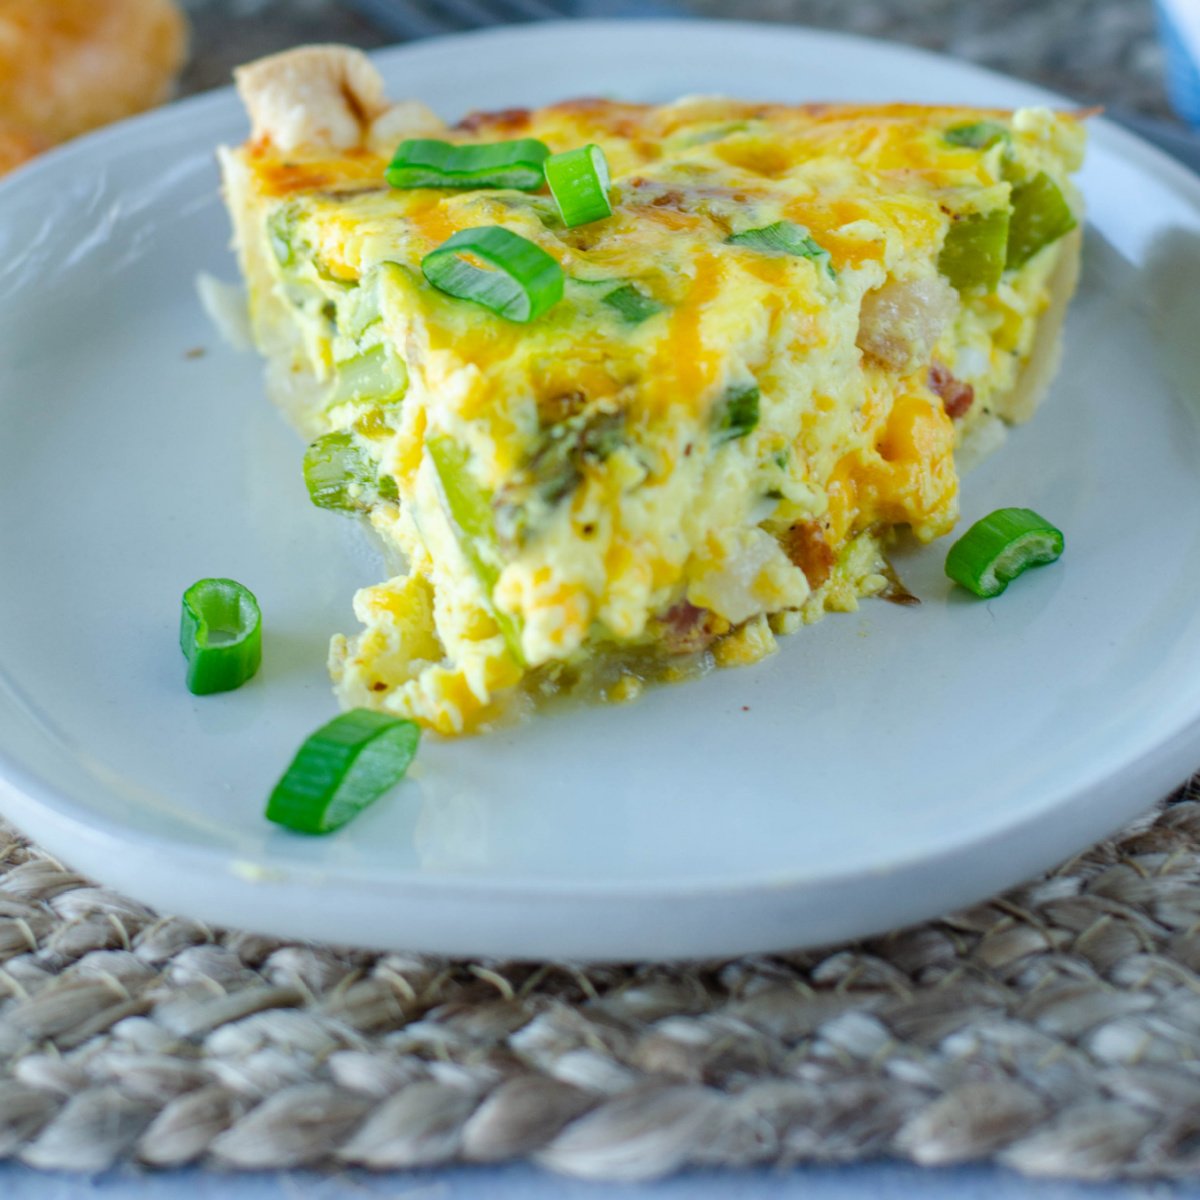
Asparagus and Bacon Quiche
Hearty and creamy, sweet and decedent Asparagus and Bacon Quiche is perfect for an Easter brunch, a special occasion, or a weekend breakfast. This post is updated from the original published on April 19, 2014. Photo credit Kelley Grant Mom Makes Dinner. I love quiche, and used to make it at home often. Ironically, it...
-
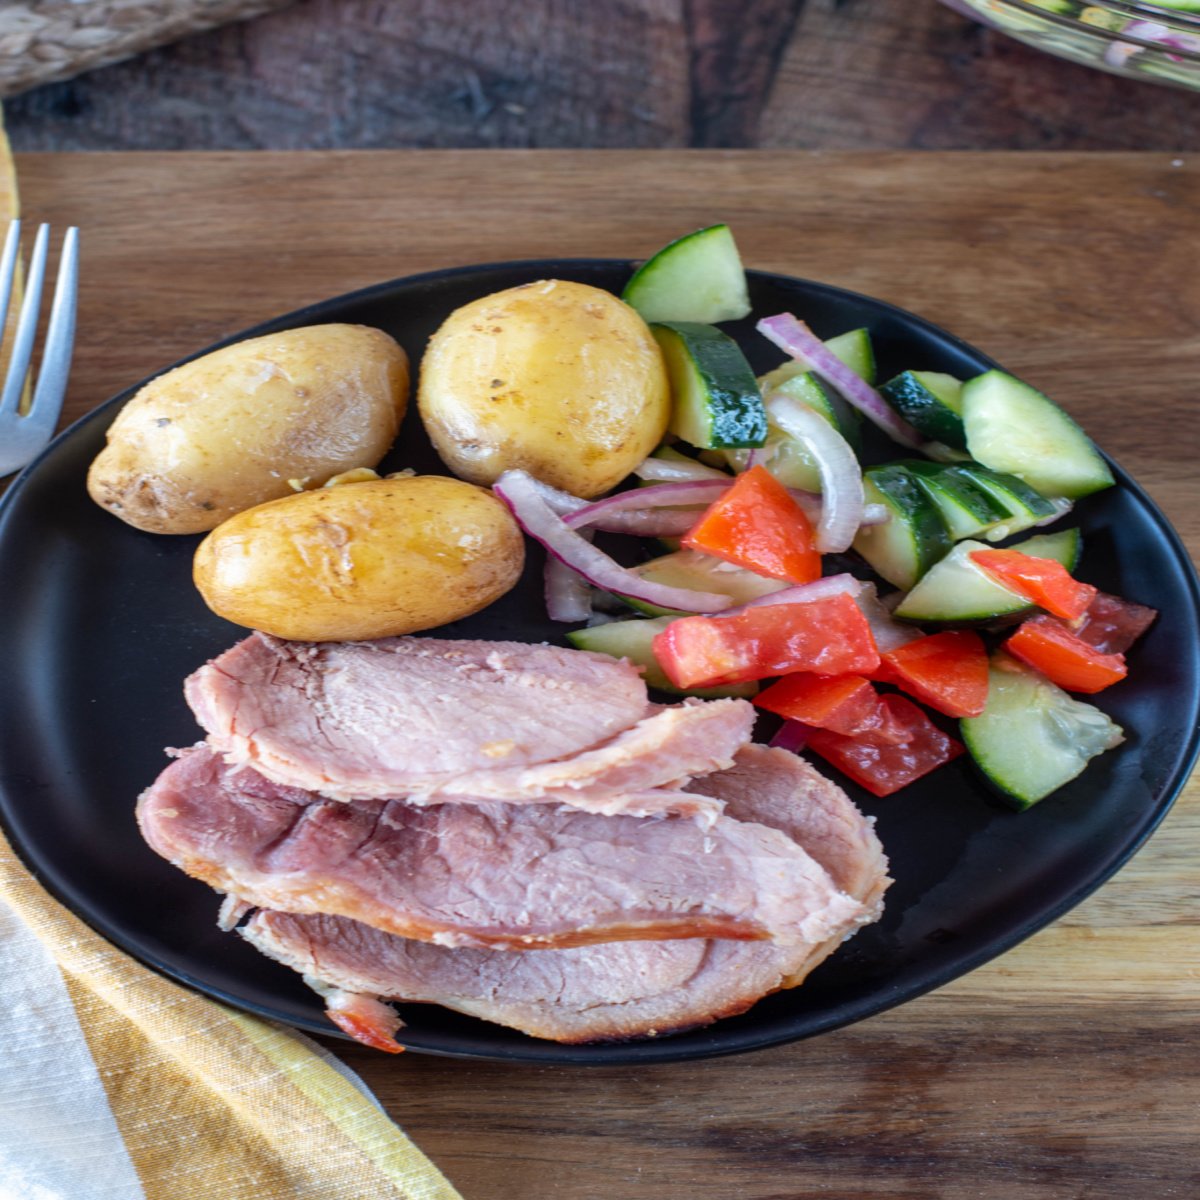
Slow Cooker Honey Ham
This Slow Cooker Honey Ham is perfect for Easter brunch or dinner! It's quick and easy to put together, ready in a few hours, and leaves your oven free for other dishes. This recipe was originally part of a series of posts celebrating both Easter and my 5 year blogging anniversary, 4 years ago. I,...