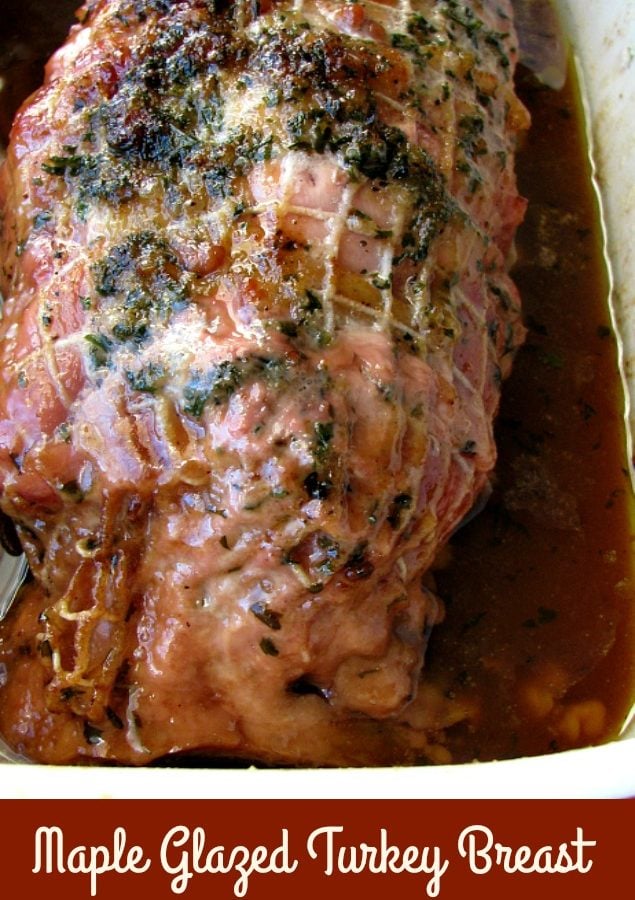
Sweet and juicy boneless turkey breast roast Maple Glazed Turkey Breast, is easy to make and perfect for Thanksgiving. It's the perfect solution for a small family that wants both white and dark meat turkey without cooking a whole turkey.

Originally published October 2, 2018.
I used a Butterball boneless turkey breast roast in this recipe, but the maple butter glaze would work with a bone-in turkey breast or a whole turkey. This Maple Glazed Turkey Breast stays nice and juicy. I also like the fact that it cooks faster than a whole turkey breast, this three pound roast was ready in an hour and a half.
How to make a boneless Maple Turkey Breast Roast
Leave the netting on the defrosted boneless turkey breast roast, but loosen and re-position the netting so it's easy to remove. Refrigerate the gravy packet that comes with the roast in a bowl or on a plate for use later as a dipping sauce.
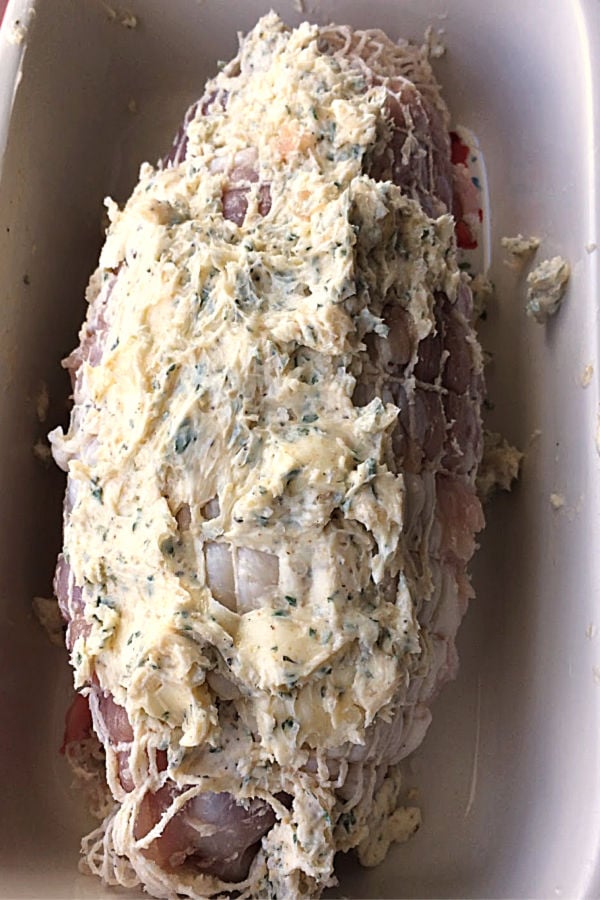
Soften a stick of butter in the microwave for around 20 seconds. Mix the softened butter with garlic powder (I used roasted garlic powder), onion powder, dried parsley, coarse salt, and freshly ground pepper. Rub the butter mixture all over the turkey breast roast, top, bottom and sides.
Bake the turkey for 1 hour at 350, uncovered. After one hour, baste with the melted butter, followed by ½ cup maple syrup. Increase the heat to 400, bake for 15 minutes. Baste with remaining maple syrup and bake for 15 minutes more, or until it reaches 165 degrees in the middle.
Remove the Maple Glazed Turkey Breast to a cutting board and cover with aluminum foil. Let it rest for about 10 minutes.
How to make Maple Dipping Sauce for poultry
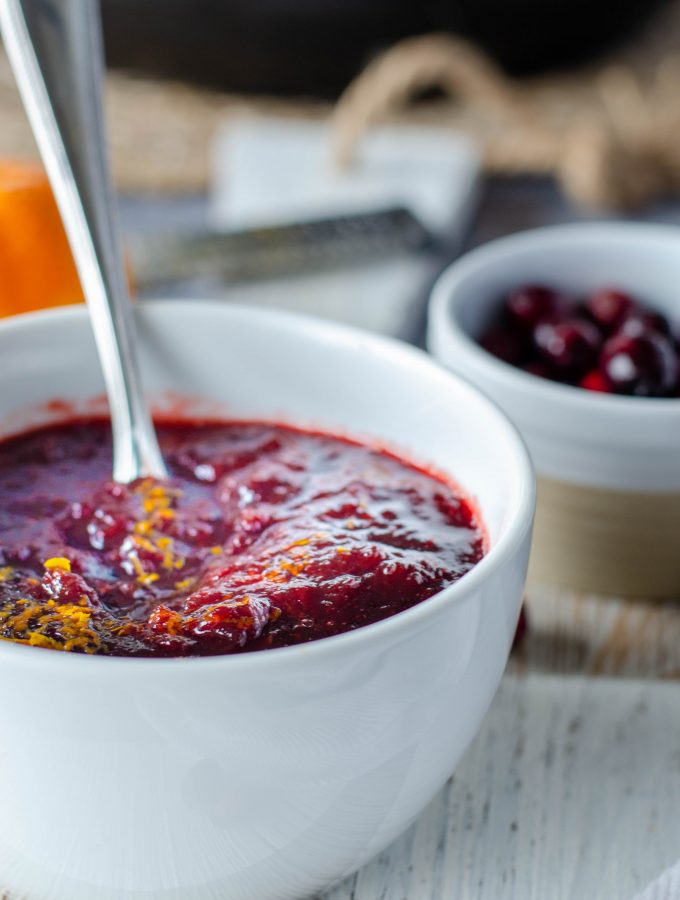
If desired, use a strainer to pour the drippings and maple syrup into a medium pot. Add the gravy packet and 1 cup chicken broth. Heat over medium heat, stirring often, until it comes to a boil. I liked it as a dipping sauce, but it is too sweet to be considered a gravy.
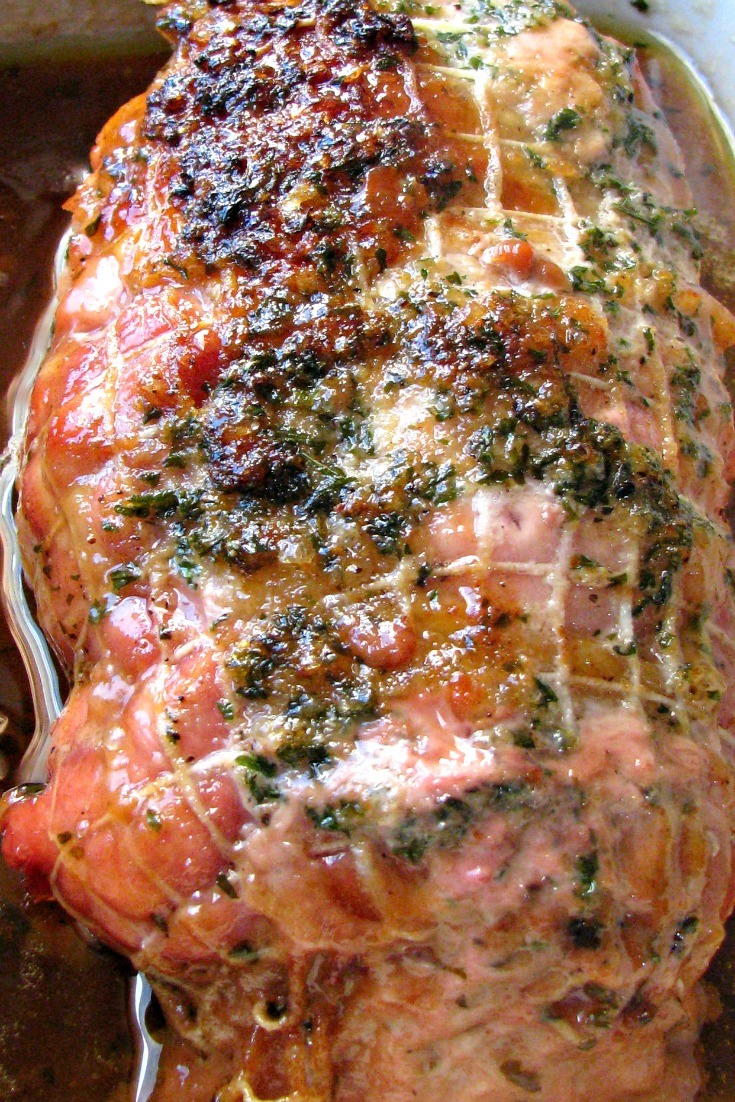
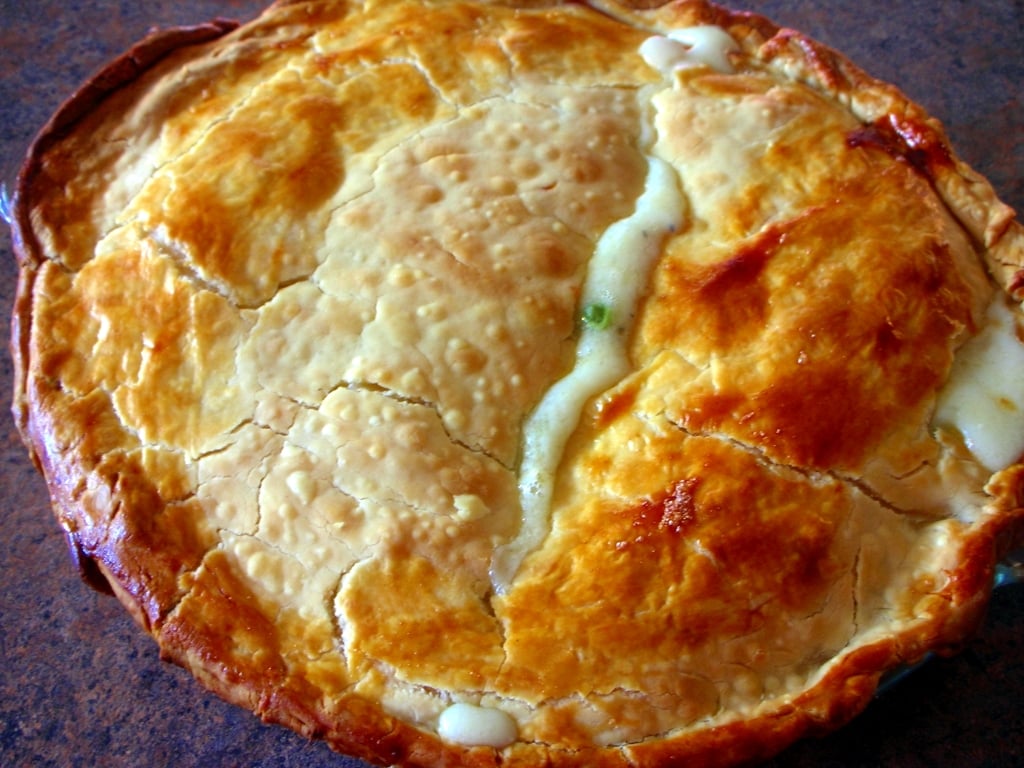
I used a narrow baking dish which led to the butter and maple syrup to simmer up around the turkey leaving the inside as well as the outside flavorful. This was a accident that turned out really well! You just have to be careful that your baking dish isn't so narrow that it boils over.
Here are some more turkey recipes you might enjoy:
Slow Cooker Turkey Breast with Gravy
Perfect Roast Chicken (or Turkey) (this is my traditional recipe for roasted turkey)
WANT EVEN MORE DELICIOUS RECIPES FROM MYSELF AND MY FAVORITE FOOD BLOGGERS? FOLLOW ME ON PINTEREST, FACEBOOK,TWITTER, OR INSTAGRAM, WHERE I SHARE NEW RECIPES DAILY. YOU CAN ALSO SUBSCRIBE BY EMAIL TO GET NEWLY POSTED RECIPES FOR FREE!
Click on the step-by-step video below to see how to make Maple Glazed Turkey Breast.
Maple Glazed Turkey Breast
Ingredients
- 3 pound boneless turkey breast roast (or whole bone-in breast, adjusting cooking time as needed)
- 8 tablespoons unsalted butter (1 stick)
- 1 tablespoon coarse salt
- 2 teaspoons dried parsley
- 1 teaspoon garlic powder (roasted garlic powder recommended)
- 1 teaspoon onion powder
- ½ teaspoon fresh ground black pepper
- 1 cup maple syrup ,divided
- 1 cup chicken broth (optional)
- enclosed gravy packet (optional)
Instructions
- Preheat the oven to 350F, Remove the defrosted turkey from the packaging. Refrigerate the gravy packet that comes with the roast in a bowl or on a plate for use later as a dipping sauce, if desired. Leave the netting on the roast, but loosen and re-position the netting so it’s easy to remove.
- Soften a stick of butter in the microwave for around 20 seconds. Mix the softened butter with the garlic powder, onion powder, dried parsley, coarse salt, and freshly ground pepper. Rub the butter mixture all over the turkey breast roast, top, bottom and sides.
- Bake the turkey for 1 hour at 350, uncovered.
- After one hour, baste with the melted butter, followed by ½ cup maple syrup. Increase the heat to 400, bake for 15 minutes. Baste with remaining maple syrup and bake for 15 minutes more, or until it reaches 165 degrees in the middle.
- Remove the turkey to a cutting board and cover with aluminum foil. Let it rest for about 10 minutes.
- If desired, use a strainer to pour the drippings and maple syrup into a medium pot. Add the gravy packet and 1 cup chicken broth. Heat over medium heat, stirring often, until it comes to a boil. Serve as a dipping sauce.