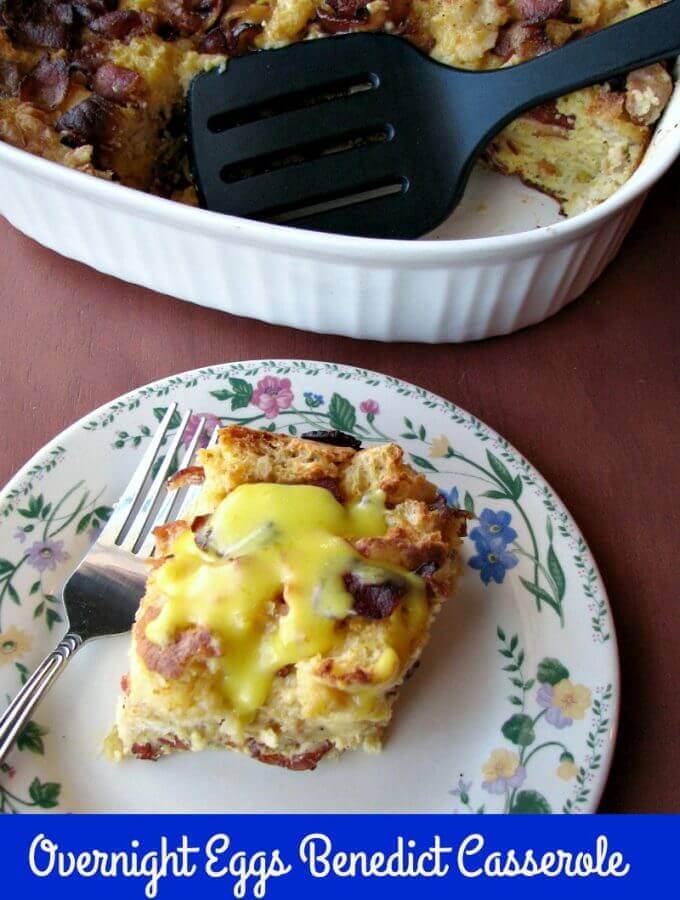
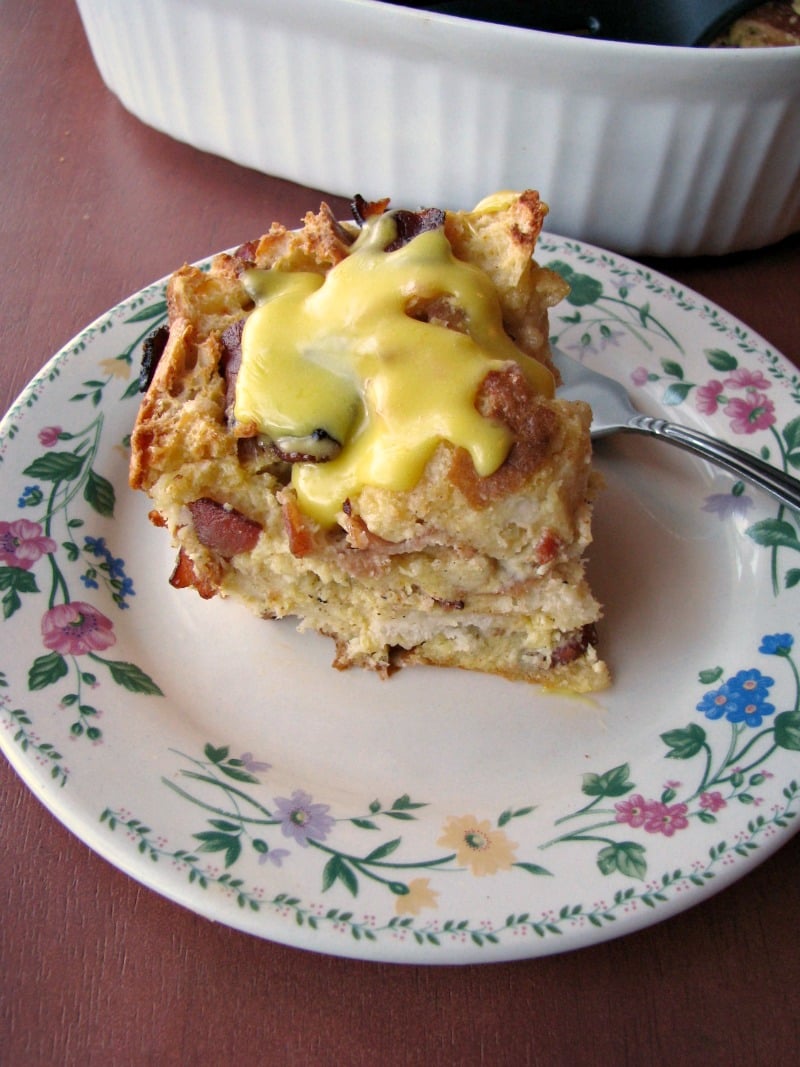
This Overnight Eggs Benedict Casserole with homemade Hollandaise sauce is perfect for Christmas morning or Sunday brunch. Just a few minutes of prep work the night before and you can have a delicious breakfast ready without any stress in the morning.
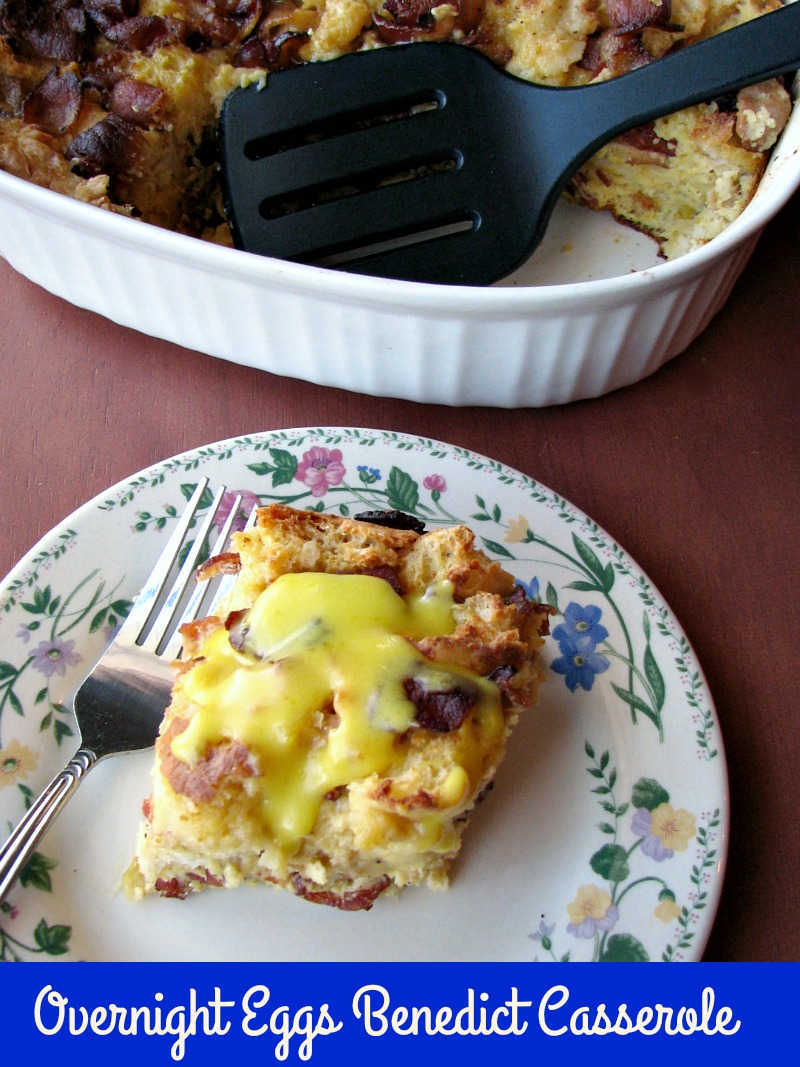
Eggs Benedict is one of my favorite foods in the world. Whenever I order it or make it, I get it with crispy bacon instead of the usual Canadian bacon, it's just my preference. I even made a healthier version using turkey bacon and eggs whites with a yogurt based hollandaise. I think no matter how you make it, it is fabulous. I have yet to post a traditional Eggs Benedict recipe, but this Overnight Eggs Benedict Casserole might be even better! Pieces of English muffin, eggs, cream (or milk), and bacon mixed together and then topped with freshly made Hollandaise sauce, I think it's the most perfect breakfast in the world!
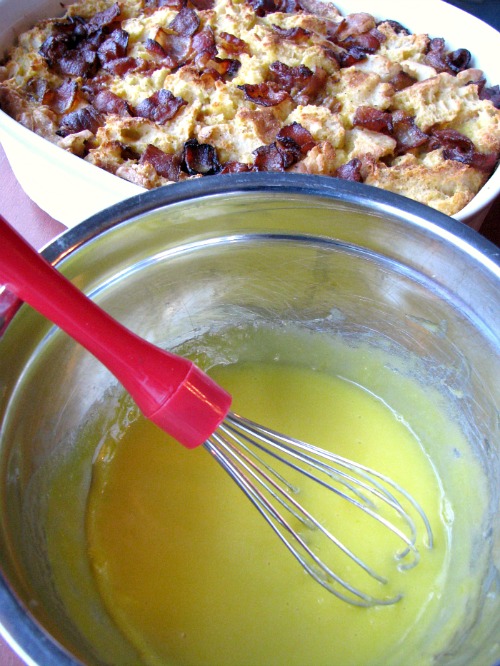
How do you make Classic Hollandaise Sauce?
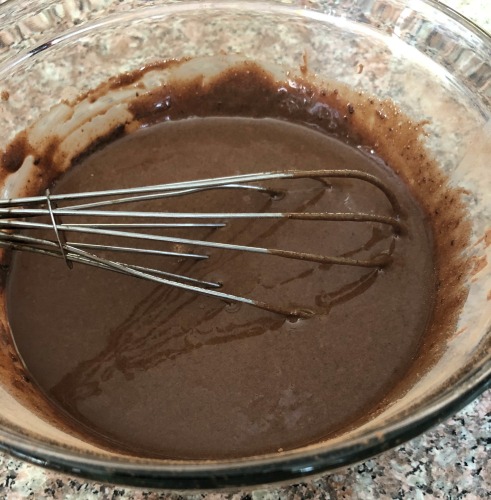
Making Hollandaise sauce isn't hard, and it only takes a few minutes to do. I know it can be made in a blender, but I've never done it that way. I whisk egg yolks and lemon juice together until thick, and then place the bowl over barely simmering water on the stove while slowly adding melted butter, until the sauce is thick and creamy. Be careful not to add the butter too fast or overcook it or it will separate. Julia Child's Mastering The Art of French Cooking recommends adding a tablespoon of cold water to the finished sauce if it separates or curdles. I have to recommend doubling the recipe for the Hollandaise, it's that good! It can be refrigerated and reheated over simmering water, whisking constantly until just barely warm.
Do you serve something special on Christmas morning? I would love for you to tell me what! If you need some more ideas Here are a few more Christmas morning recipes:
Overnight Caramel French Toast
Mexican Chorizo Breakfast Casserole
Sausage Hashbrown Breakfast Casserole
I adapted this Overnight Eggs Benedict Casserole from a trEATS Affair. Originally posted December 9, 2016. Post updated December 5, 2019.
Overnight Eggs Benedict Casserole Recipe

Overnight Eggs Benedict Casserole
Ingredients
For the casserole
- 6 English muffins, torn or chopped into small pieces
- 1 pound bacon, chopped into 1 inch pieces and cooked until crispy (substitute chopped ham or Canadian bacon if desired)
- 8 eggs
- 2 cups half and half or milk (I used 1 cup heavy cream and 1 cup milk)
- 1 teaspoon onion powder
- ½ teaspoon paprika
- ½ teaspoon salt
For the Hollandaise Sauce
- 4 egg yolks
- 1 tablespoon freshly squeezed lemon juice
- ½ cup unsalted butter (one stick)
- large pinch salt
Instructions
- Grease a 2 ½ quart casserole dish with butter.
- In a mixing bowl whixk together the eggs, half and half (or milk), onion powder, paprika, and salt.
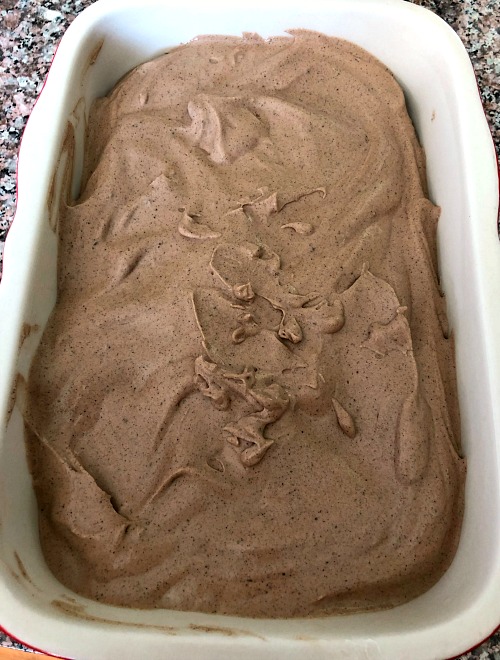
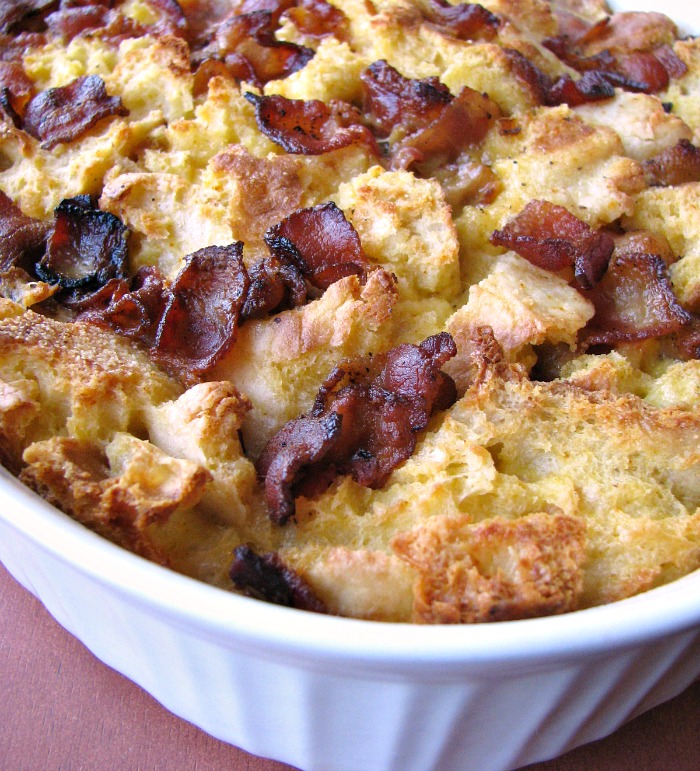
- Layer the torn English muffins and bacon in the casserole dish, pour the egg mixture over the muffins and bacon. Cover with aluminum foil and refrigerate overnight.
- Preheat the oven to 375 degrees F. Place the casserole in the oven and bake for 45 minutes. Uncover and continue to bake until the eggs are set, 15-30 minutes. Remove from the oven and let cool slightly while you make the Hollandaise sauce.
- Bring a small amount of water to a simmer in a pot. In a heat-proof bowl that will fit over the pot, whisk together the eggs and lemon juice until thick and creamy. Place the bowl over the simmering water and continue to whisk while slowly pouring in the melted butter. Continue to whisk until the sauce is thick and creamy. Remove from the heat and whisk in the salt. Serve on the side with the casserole.


 .
. 


 l
l