
This post is sponsored by Nellie's Free Range Eggs. I received a monetary gift card and coupons in order to facilitate this recipe. All opinions, as always, are my own. This Mexican Chorizo Breakfast Casserole, made with eggs, chorizo, diced tomatoes, peppers, and cheese, can be prepared ahead and is perfect for weekend mornings.

With the holidays quickly approaching and all the running around we have to do, I've been looking more and more towards recipes I can make ahead and still have something healthy. Actually, this Mexican Chorizo Breakfast Casserole would be great on Christmas morning. Nellie's Free Range Eggs are something I buy whenever I can. The chickens are raised on Certified Humane® free range farms, making quality eggs your family can enjoy.
This recipe uses Nellie's extra large eggs because they are the only size available at my local grocery store. If you can only find the large eggs simply increase the eggs in the recipe to a full dozen instead of 10.

You can prepare the breakfast casserole recipe the night before, then bring it out of the fridge and let it come to room temperature for 30 minutes before baking.
How to Make Mexican Chorizo Breakfast Casserole

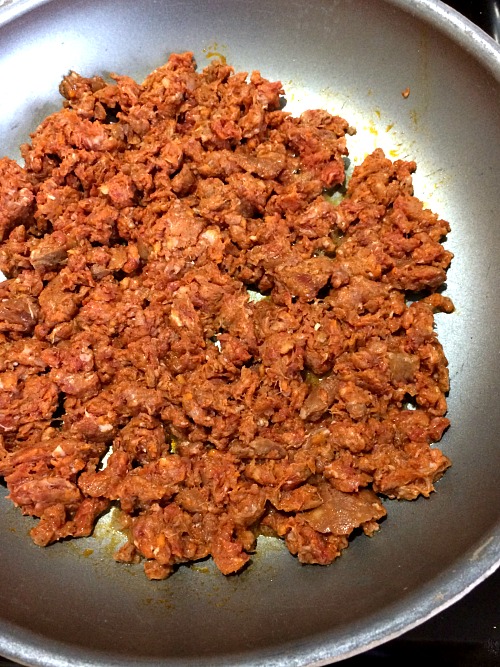
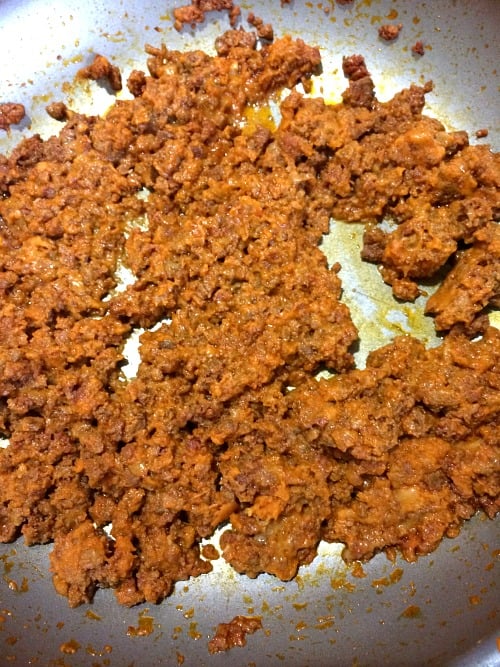
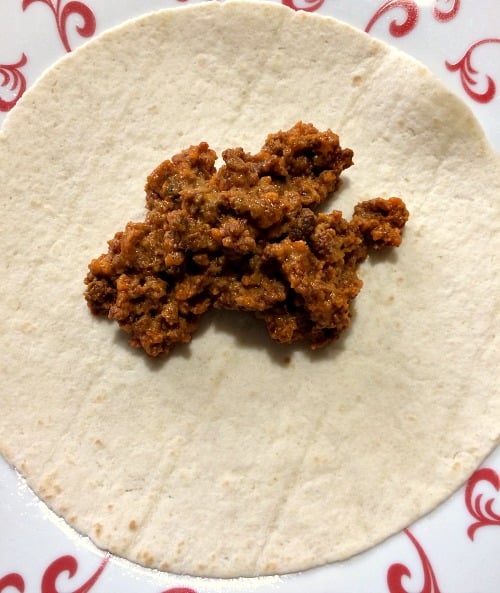
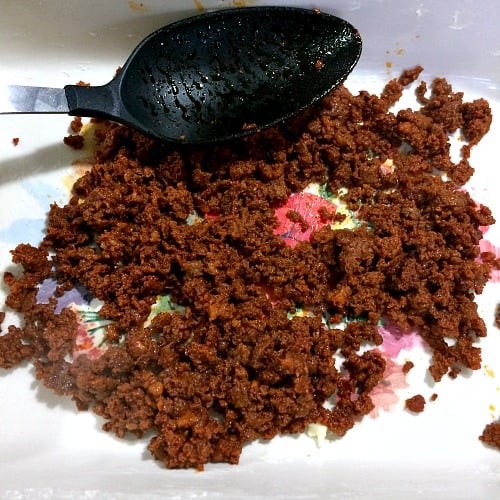
Cook the chorizo over medium high heat until fully cooked, drain in a colander to remove all the grease. Grease a baking dish with butter. Spread the cooked chorizo across the bottom of the baking dish.
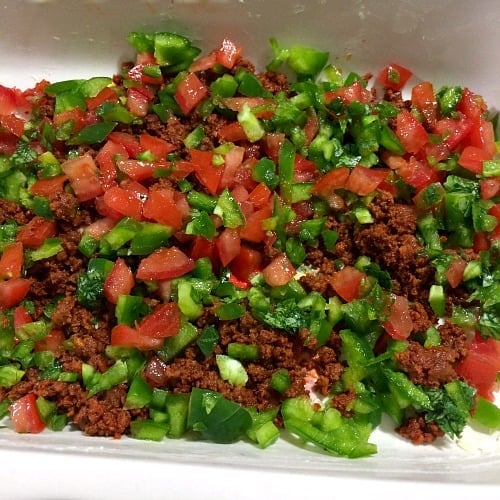
Top with the tomatoes, green peppers, jalapeno, and cilantro.
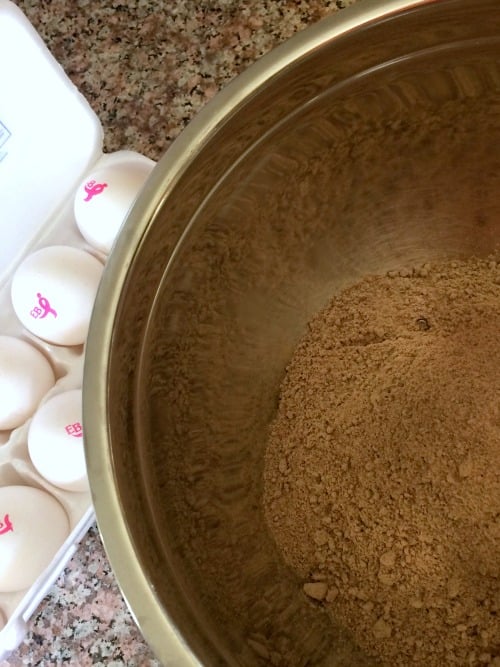
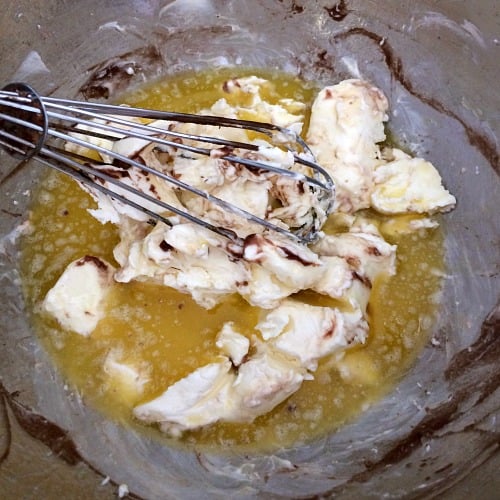
Crack the eggs into a mixing bowl and beat with a fork until well combined. Pour the eggs over the chorizo/vegetable mixture.

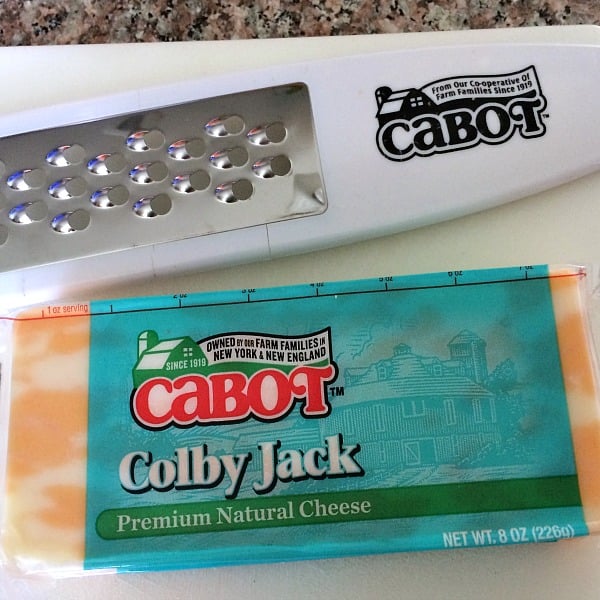
Top with shredded cheese.

If baking now, place the baking dish a preheated to 375F oven and bake for 15-20 minutes, or until the eggs are cooked through. If baking the next day, cover the baking dish with plastic wrap and refrigerate. Bring out of the refrigerator 30 minutes before baking.

Here are some more breakfast casserole recipes you might enjoy:
Sausage Hashbrown Breakfast Casserole
Slow Cooker Ham, Cheese, and Veggie Breakfast Casserole
Overnight Eggs Benedict Casserole
WANT EVEN MORE DELICIOUS RECIPES FROM MYSELF AND MY FAVORITE FOOD BLOGGERS? FOLLOW ME ON PINTEREST, FACEBOOK, TWITTER, OR INSTAGRAM, WHERE I SHARE NEW RECIPES DAILY. YOU CAN ALSO SUBSCRIBE BY EMAIL TO GET NEWLY POSTED RECIPES FOR FREE!

Mexican Chorizo Breakfast Casserole
Ingredients
- 10 extra large eggs
- 7 ounces pork Mexican chorizo
- 1 tomato , seeded and chopped
- 1 jalapeno , seeded and minced
- ¾ cup chopped green bell pepper
- 1 tablespoon chopped cilantro
- 1 packed cup Mexican 4 cheese blend
Instructions
- Cook the chorizo over medium high heat until fully cooked, drain in a colander to remove all the grease.
- Grease a baking dish with butter. If your are not preparing ahead, preheat the oven to 375 degrees F. Otherwise, proceed to step 3.
- Spread the cooked chorizo across the bottom of the baking dish. Top with the tomatoes, green peppers, jalapeno, and cilantro.
- Crack the eggs into a mixing bowl and beat with a fork until well combined. Pour the eggs over the chorizo/vegetable mixture. Top with shredded cheese.
- If baking now, place the baking dish in the preheated oven and bake for 15-20 minutes, or until the eggs are cooked through. If baking the next day, cover the baking dish with plastic wrap and refrigerate. Bring out of the refrigerator 30 minutes before baking.